Home AboutMe Crafts Food

Monday, May 3, 2010

Craftiness

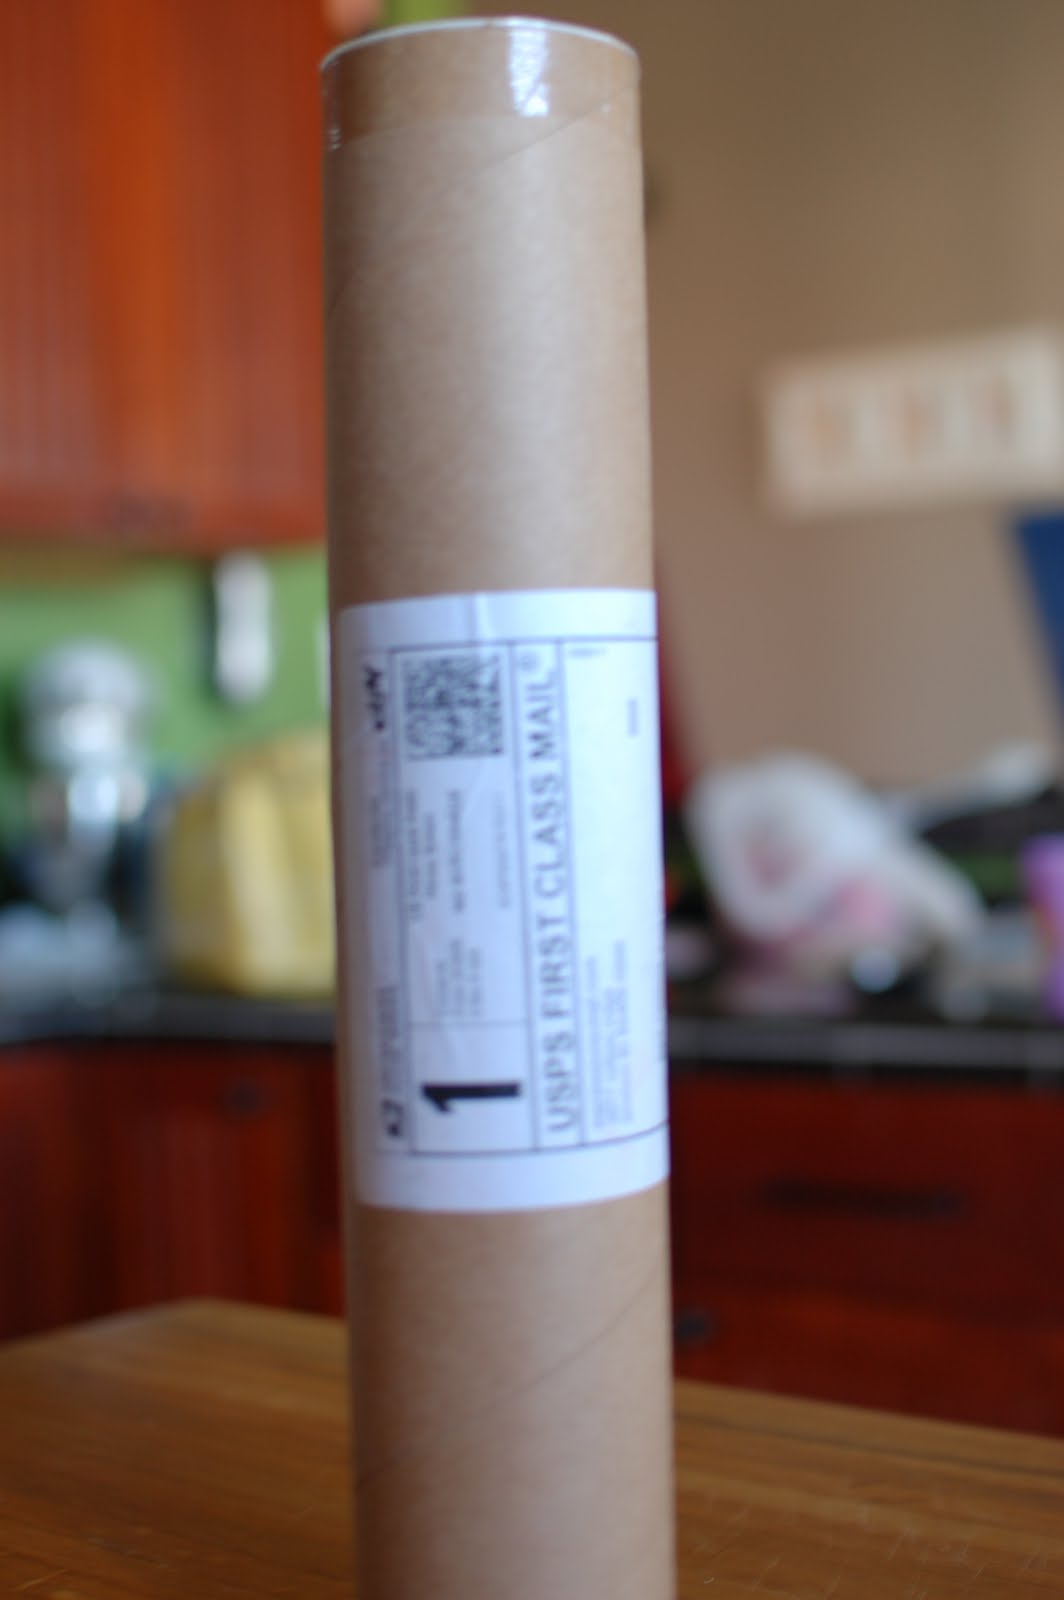
This tube of vinyl came in the mail a few weeks ago.mailing tube Last week, I finally got my cricut out and tried cutting some vinyl.

Cricut
It was SUPER easy to do!
I made this K for my car with outdoor vinyl.
Vinyl K And I made this {SUPER} cute number 6 for my candle holder that was in desperate need of a makeover.
Vinyl 6 There are so many other crafty vinyl ideas floating around in my head and waiting to be discovered on the internet.
*walls*
*lampshades*
*vases*
*plates*
I think I just opened up a 'big can of craftiness worms'!

What kind of crafts do you like to do with vinyl?


Pin It!

Friday, April 30, 2010

A Little Bit About Japan

Henry's class has been learning about Japan this week, and today they are having a celebration of Japanese culture, clothes, and food.
*******************
Henry wearing his kimono that he decorated with a tiger, Mt. Fuji, the Japanese flag, a samurai, and a dragon.
Henry wrote a story about all the things he had learned about Japan.And last night, I made {lots and lots of} Candy Sushi for his class.
Candy Sushi Candy Sushi How To:
Make a batch of Rice Krispy Treats
{3 tbls butter}
{10 oz bag of mini marshmallows}
{6 cups of Rice Krispies}
{Melt butter, stir in marshmallows until smooth, add Rice Krispies.}

Spray a cookie sheet with cooking spray and pour the batch of Rice Krispies into the cookie sheet. Press it down until it fills the entire pan. Let cool a little. {I made two batches, that is why there are two sheets of Rice Krispies}
Candy Sushi Line gummy worms up along the long side of the Rice Krispy Treat.
Candy Sushi Then roll the Rice Krispy Treat until the gummy worms are completely covered.
Candy SushiPress and mold the Rice Krispies into a long tube and then cut along the side of the tube with a very sharp knife. I got three tubes out of each sheet of Rice Krispies.
Candy Sushi Use that same sharp knife to cut the roll into approximately 1 inch pieces. I ended up with about 10 pieces per roll for a total of 30 per batch of Rice Krispies.
Candy Sushi After the candy sushi rolls are all cut, wrap them with a green fruit roll up. I found mini fruit roll ups that were the perfect size when they were cut in half.
Candy Sushi
Candy Sushi


I'm linking up with these awesome parties:
abc button
Join us Saturdays at tatertotsandjello.com for the weekend wrap up party!

DIY Day @ ASPTL


The Girl Creative


Pin It!

Thursday, April 29, 2010

SUPER Yummy Pasta Salad

Ingredients:
One pound of pasta
cucumbers
tomatoes
italian dressing
shredded cheese
Boil and drain pasta. Cut up cucumbers
and tomatoes.
Stir together pasta, veggies, and dressing. Use as much or as little dressing as you would like. I usually use a little more than half of a 16 oz. bottle.
Add a sprinkle of cheese...probably about 1/2 cup.
And enjoy!


Pin It!

Wednesday, April 28, 2010

Tuesday, April 27, 2010

Placemat Pillow Tutorial


Placemat Pillow Tutorial While shopping at Target for a few accessories for my living room, I came across these SUPER cute placemats. I noticed that the placemats were fully lined, meaning they were two pieces of material sewn together with a nice finished edge. The first thing that came to mind was that they would make great {and cheap} pillows!
I bought two placemats. They were on sale for $3.75 each! I also picked up a 16 oz bag of Cluster Stuff {the white fluffy stuff used to fill pillows} for $4.50.
To get started, I checked around all four edges of the placemat and found the seam they used to turn the placemat. If you look carefully you should see that there is about a 2-3 inch place where the stitching is a little different.
Then I used my seam ripper to pull the thread and make a hole in the side of the placemat. Make sure that the hole is big enough to stick your hand in to make it easier to stuff.
Then I filled up my placemat turned pillow with the Cluster Stuff. One 16 oz. bag was just enough to stuff both of my placemats.
Then I used my sewing machine to stitch up the side of the new pillow. You could also easily do this with just a needle and thread.
I think they looks great on my new couch.
And they were a great deal too! I got two pillows for only $12.oo!


I'm linking up with these awesome parties:

Visit thecsiproject.com


Join us Saturdays at tatertotsandjello.com for the weekend wrap up party!


DIY Day @ ASPTL


The Girl Creative


Pin It!
Related Posts Plugin for WordPress, Blogger...