


As I was browsing the Pottery Barn website last week, I came across this gorgeous wall display using platters, twine, and letters.
 I was in love the second I saw it, and I knew that I had to make something similar for my dining room. I also knew it would be a pretty inexpensive project because I already had a few white plates sitting in the cabinet just waiting to be used for a craft project.
******************
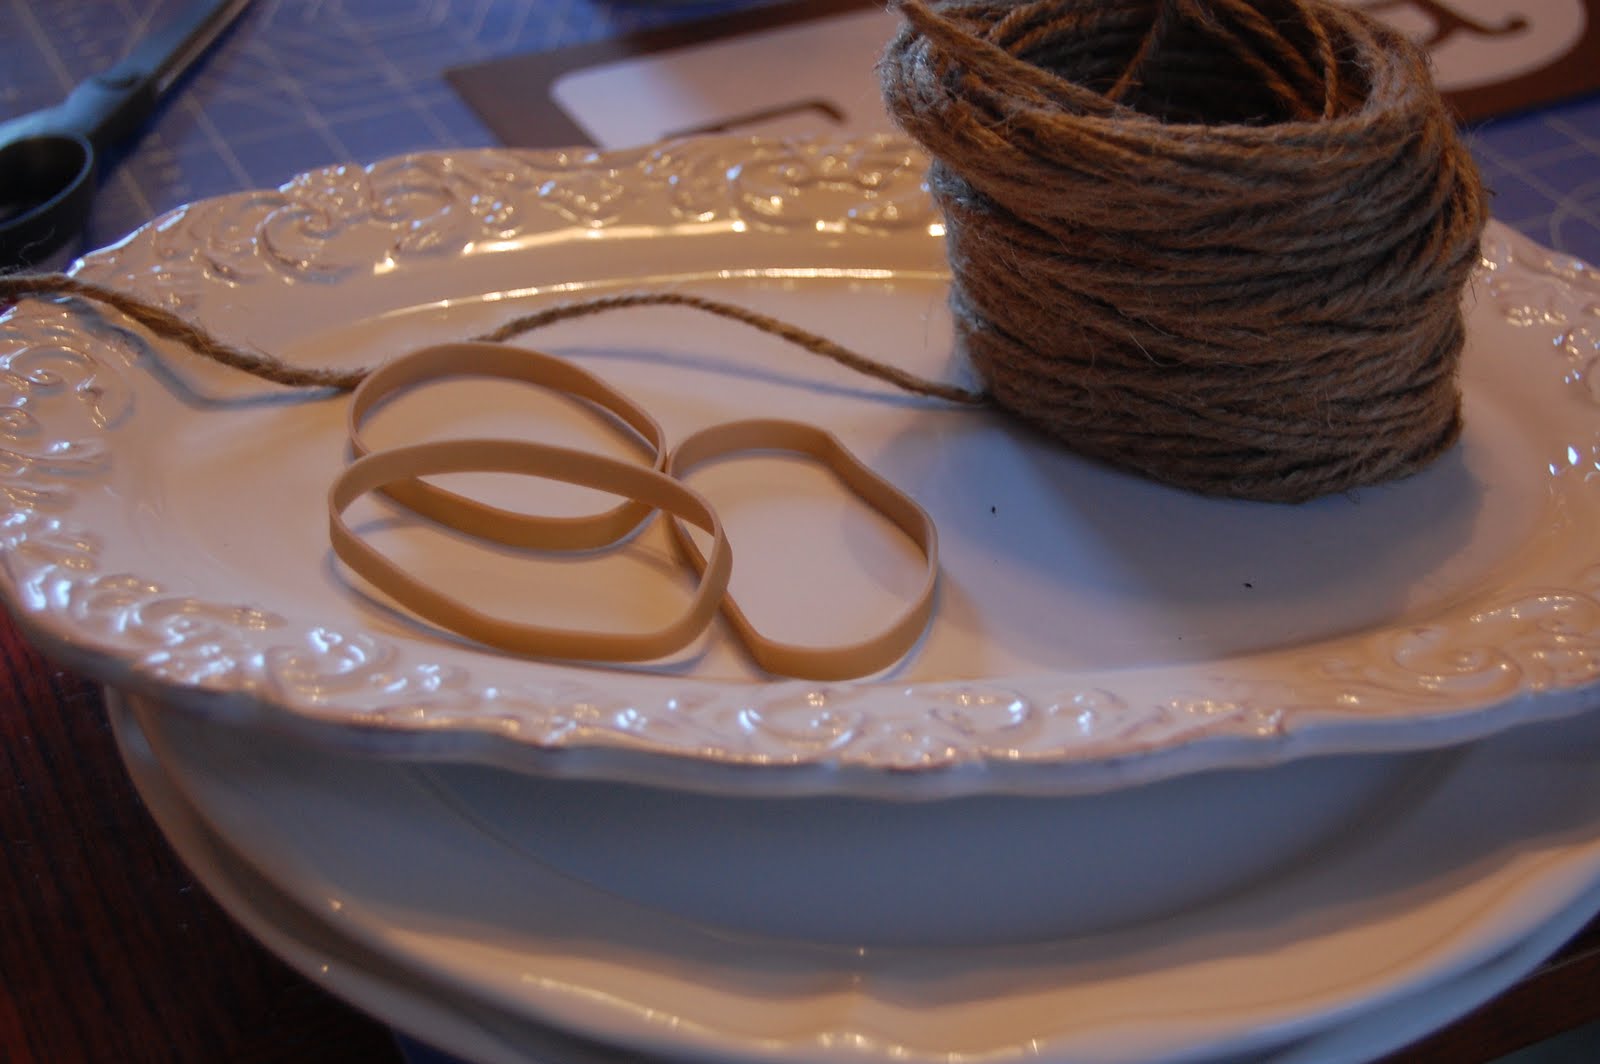
I used two of my round plates and picked up a SUPER cute oval one at Marshall's for $2.99. I already had a roll of twine, and I found a few rubber bands {which I only ended up using one of}.
 Using my Cricut, I cut the letters E, a, and t out of white card stock, and then I used spray adhesive to mount the letters onto some brown card stock.
 I wrapped the twine around the plates and tied the two ends together in the back. There is a video on the Pottery Barn website that walks you through the steps of using the rubber band to make the twine elasticized....I tried it on one plate, but didn't do it on the other two.
 I {technically my hubby} attached some inexpensive hooks to the back of the plates with two part epoxy and then let the hooks cure overnight.
 I hung the plates above the doorway in our dining room. We have ten foot ceilings in our house, so sometimes the space over the doors seems really big and blank. If my hubby would let me, I would probably hang something over every doorway in our house:)
 This is a great way to dress up a blank wall in your house...plus it is really inexpensive and SUPER easy to do. I also love that it will be really easy to change out the letters so I can also use that area to decorate for Thanksgiving and Christmas.
 I'm linking this project up with The CSI Projects Pottery Barn Inspired Challenge.


