Wednesday, May 2, 2012
Tuesday, May 1, 2012
Roadtrip Ready: Travel Snack Boxes
Welcome to day one of my new series Roadtrip Ready! I am so excited to share all of my fun roadtrip ideas, and few of my friends' great ideas as well. Today I am sharing a fun idea inspired by a project I saw on Pinterest. The idea behind these travel snack boxes is that each kid gets a box full of snacks at the beginning of the your trip. They get to eat the snacks any way they want...all at once or spread out through the day...but when it's gone, it's gone! It's a great idea, but I took it one step further by adding a fun chalkboard to the top. Now it's entertainment and snack in one!
I started with these divided boxes that I picked up at Ikea for about $4 each. You can find similar boxes at the hardware store or the craft store.
I added a piece of chalkboard vinyl to the top of the boxes. I was careful not to cover up the places on top where the boxes stack on top of each other...that way they are easier to store when not in use.
Then I cut the boys' names out with my Silhouette and added the names to the top of the boxes.
Henry got blue, Grant got green, but Eli ended up with yellow because I didn't have any orange vinyl.
The great thing about these boxes is that you can fill them up with anything you want. That means they can be way more healthy {and a lot cheaper} than all those gas station snacks! I added a bottle of water and a yogurt in the large compartment. To keep things cool longer, you can freeze both of these. Then I filled up the boys' boxes with a variety of snacks: blueberries, carrots, almonds, Oreos, animal crackers, and pretzels. The possibilities are endless!
And when the kiddos start chanting "I'm bored" all you have to do is hand them a piece of chalk! That should keep them busy for about ten minutes a while:)
What kind of snacks do you like to take on roadtrips?
Linking up here..
Labels:
Crafts,
Food,
Roadtrip Ready
Monday, April 30, 2012
April Recap Via Instagram
Road trip to Atlanta
Yummy food at the Varsity
Homemade marshmallows for Easter
Assembling Ikea furniture for the Airstream
Map covered table in progress
BBQ at the Shed!
Listening to the Easter Story at the egg hunt
Easter eggs
Ice cream for Henry's 8th birthday
Eating grilled corn in the back yard
Homemade Mint Cookies and Cream ice cream
Fabric covered roller shades in the boys' room in the Airstream
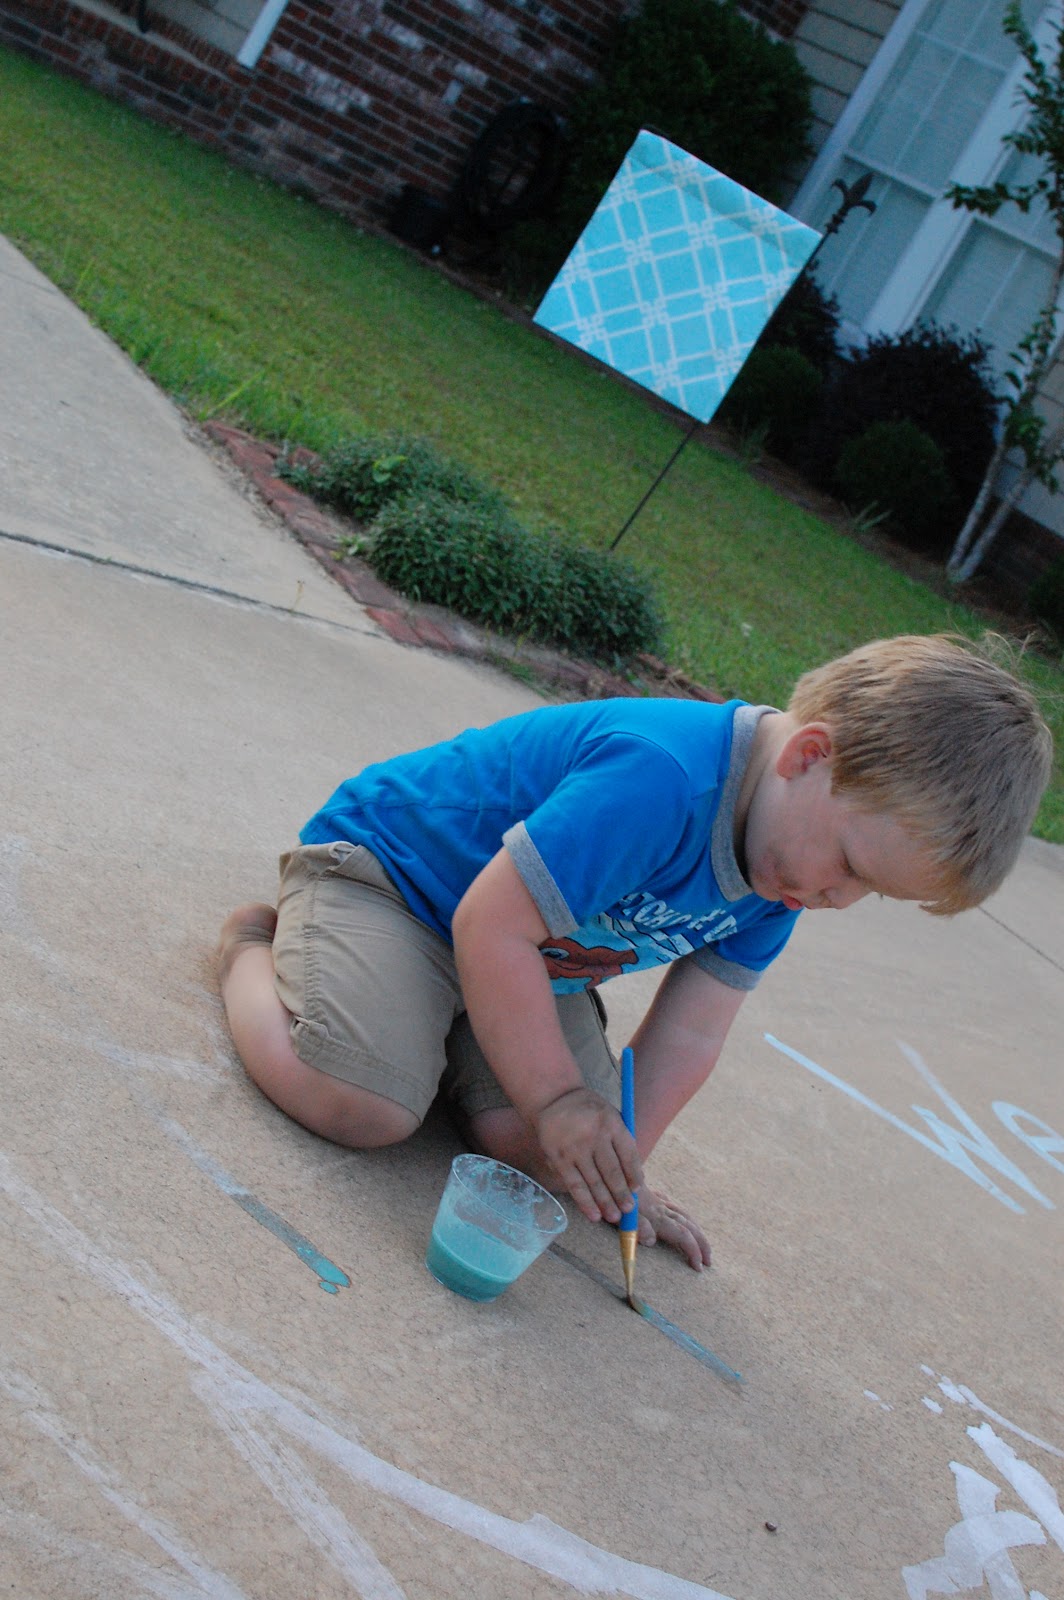
Eli covered in dirt from playing outside
Bowling ball cupcakes for Henry's party
Silly boys on the way to the bowling alley
STRIKE!
Birthday cake
I started reading the Hunger Games....so good!
My new bike
Eli and his pillow fort
Early morning P90X workout
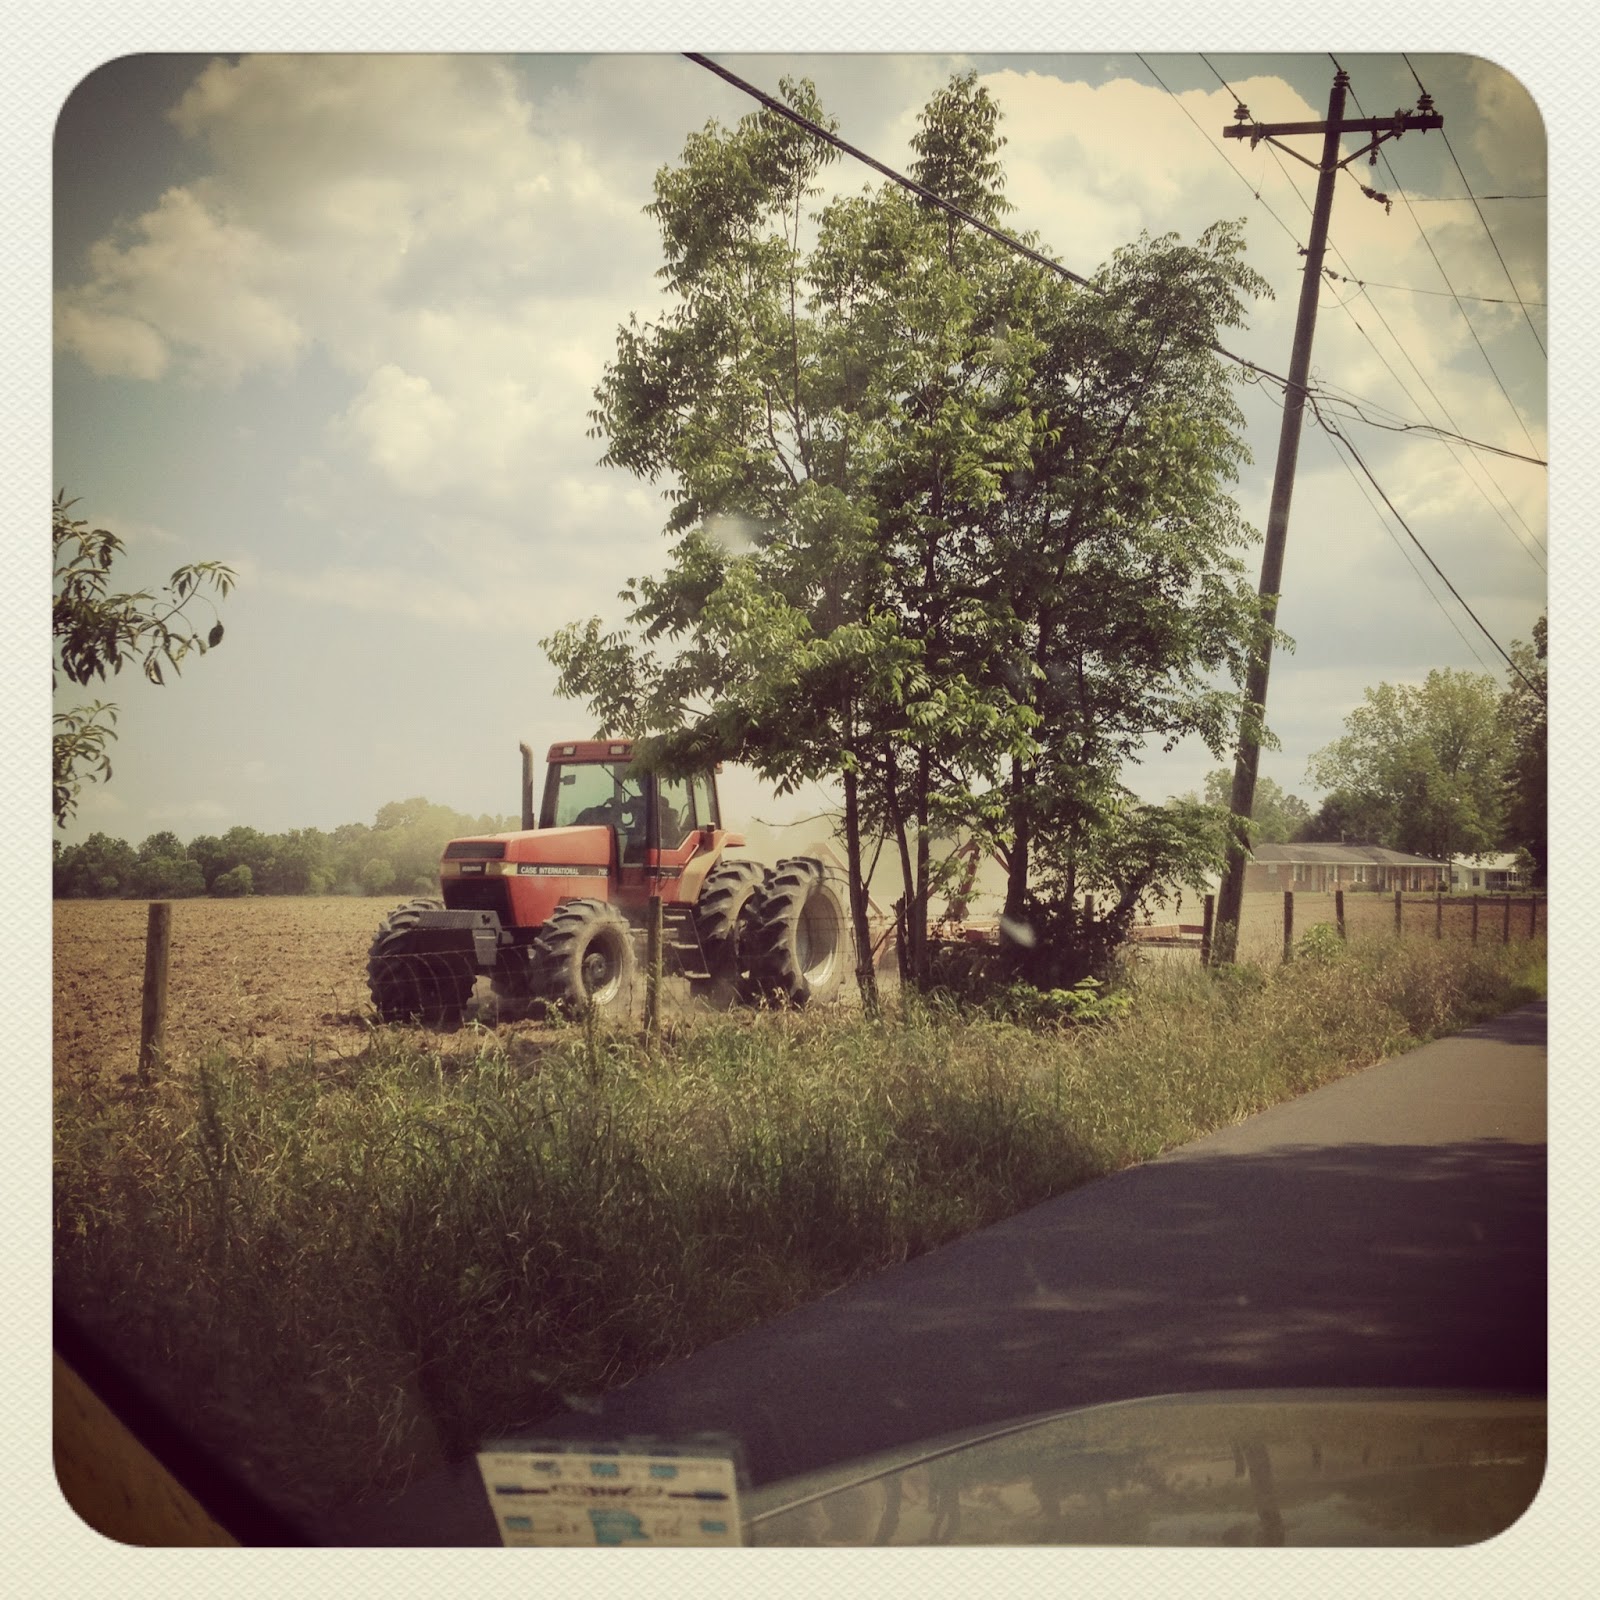
A tractor plowing a field near our house
Going for a bike ride
A week full of field trips
Phoebe recovering from surgery
Book #2
Field trip to the movies
Eli's first dentist visit
Henry putting together one of his birthday presents
More fabric covered roller shades in the Airstream
Phoebe getting a little fresh air
Back to the walking track to get in {better} shape before our trip!
Labels:
Monthly Recap Via Instagram
Friday, April 27, 2012
Strawberry Tallcake
Jason's birthday was last week. We really don't make a big deal about our birthdays anymore. It seems like once you have kids, their birthdays are fun and your birthdays just mean you are getting older:) Even though we don't do much, I do always make some kind of special cake for my hubby. I've made some fun cakes for my hubby over the years, like a Krispy Kreme donut cake and an Oreo cake {which I apparently didn't blog about}. But this year he wanted something different...something from our past that we both loved: Strawberry Tallcake! Do any of you remember this SUPER delicious treat that they had on the menu at Ruby Tuesdays a few years ago. It must have been really popular when Jason and I were dating and in college, because I remember a ton of times that we went and order just a Strawberry Tallcake with two spoons as a special treat.
The recipe to make this Strawberry Tallcake is a little complicated. It was kind of a lot of work, but it was so worth it! Basically it's sponge cake layered with a strawberry mouse then topped with strawberry syrup, ice cream, and whipped cream. Getting to the assembling and layering part takes quite a few steps....BUT this cake seriously tasted just like the Strawberry Tallcakes that Ruby Tuesday used to bring to our table in a huge glass goblet.
I found the recipe HERE.
Sponge cake:
5 eggs, separated
1 1/2 cups sugar
1/2 cup cold water
2 tsp vanilla
1 1/2 cups AP flour
1/2 tsp baking powder
1/2 tsp salt
1/2 tsp cream of tartar
1. Preheat oven to 350 degrees
2. Beat the egg yolks until they are creamy and lighter yellow. Add in the sugar and blend well. Add water and vanilla mix until combined.
3. Sift together flour, baking powder, and salt and add it to the yolk mixture. Mix well until the batter is smooth. In a separate bowl, beat the egg white until smooth, then add the cream of tartar. Continue beating until the egg whites are stiff and form peaks. Fold the egg whites into the batter and mix slowly until well combined.
4. Pour the batter into an ungreased 17X11 cookie sheet and bake for 25 to 30 minutes or until the top of the cake is a light brown color.
10 oz package of frozen strawberries in syrup
1 3/4 cups of water
3 oz. package of strawberry Jell-O
1 cup of heavy cream
- Defrost the frozen strawberries and pour the entire package, including syrup, into a blender and puree for 10 to 15 seconds until smooth. Combine puree with 1 1/2 cups of the water in a small saucepan over medium heat. When the strawberry mixture comes to a boil, add the entire package of Jell-O, stir to dissolve, and remove the pan from the heat to cool. When the strawberry mixture has cooled to room temperature, divide it in half into two medium bowls.
- Beat the whipping cream until it is thick and forms peaks. Fold the cream into one of the bowls of the strawberry mixture until well combined. This is your strawberry mousse. Cover and chill. To the other bowl, add the remaining 1/4 cup of water. This is the strawberry syrup. Cover and chill this mixture as well.
{Recipe adapted from recipecircus.com}
Labels:
Food
Thursday, April 26, 2012
Roadtrip Ready Blog Series
As most of you know, we are heading out on a big roadtrip in a few weeks. I have a ton of projects {besides the Airstream} that I am working on in preparation for our trip. So I decided it might be fun to put all of my ideas {and a few guests posts too} into a blog series. I'm calling this fun new series "Roadtrip Ready" and for the whole month of May I will be posting great tips, crafts, and recipes that will help you get ready for a roadtrip.
I'm still looking for a few more guest posts, so if you have any blog posts {new or old} that you think would be a great addition to the series, send me an email and we can work something out!
Check back next Tuesday {May 1st} to see the first post in the series! It is going to be a fun one!
CLICK HERE TO SEE ALL THE POSTS IN THE SERIES!
Labels:
Roadtrip Ready
Subscribe to:
Posts (Atom)


