Home AboutMe Crafts Food

Monday, June 18, 2012

May Recap Via Instagram

I realize that we are more than halfway through June, but I have been doing these recaps since January and I really want to continue them. Like I said before, the WiFi gods were not very nice to me on our trip, and we were high in the Sierra Nevada's {aka no cell service for MILES} at the end of May so I couldn't share my May recap with you then...so you are getting to see it now:) Plus there is a little sneak peak of the first few days of our trip! We are having VBS at church this week which means it may take me even longer to get our trip photos edited...but I will share them soon I promise!

Henry has a fun chocolate day at school.
 The boys got much needed haircuts.
 I worked on our menu for our first test run with the Airstream.
 We headed to Dauphin Island for the weekend.
 Our first time camping in the Airstream!
 We had yummy {and expensive} snow cones.
 I worked on teacher gifts for Teacher Appreciation Week.
... more teacher gifts...
 Phoebe got the okay from the vet after her surgery.
 Grant had a constellation project for school.
 Henry got the Math Award at Awards Day:)
 I had to take a picture of this beautiful sunset.
 All my boys made me breakfast for Mother's Day!
 We spent most of our time working on the Airstream! I added this fun chalkboard to the wall in the kitchen area:)
 We had a backyard campfire with some friends.
 I tried the Doritos taco for the first time...not too bad!
 I made cute Airstream shirts of the boys....
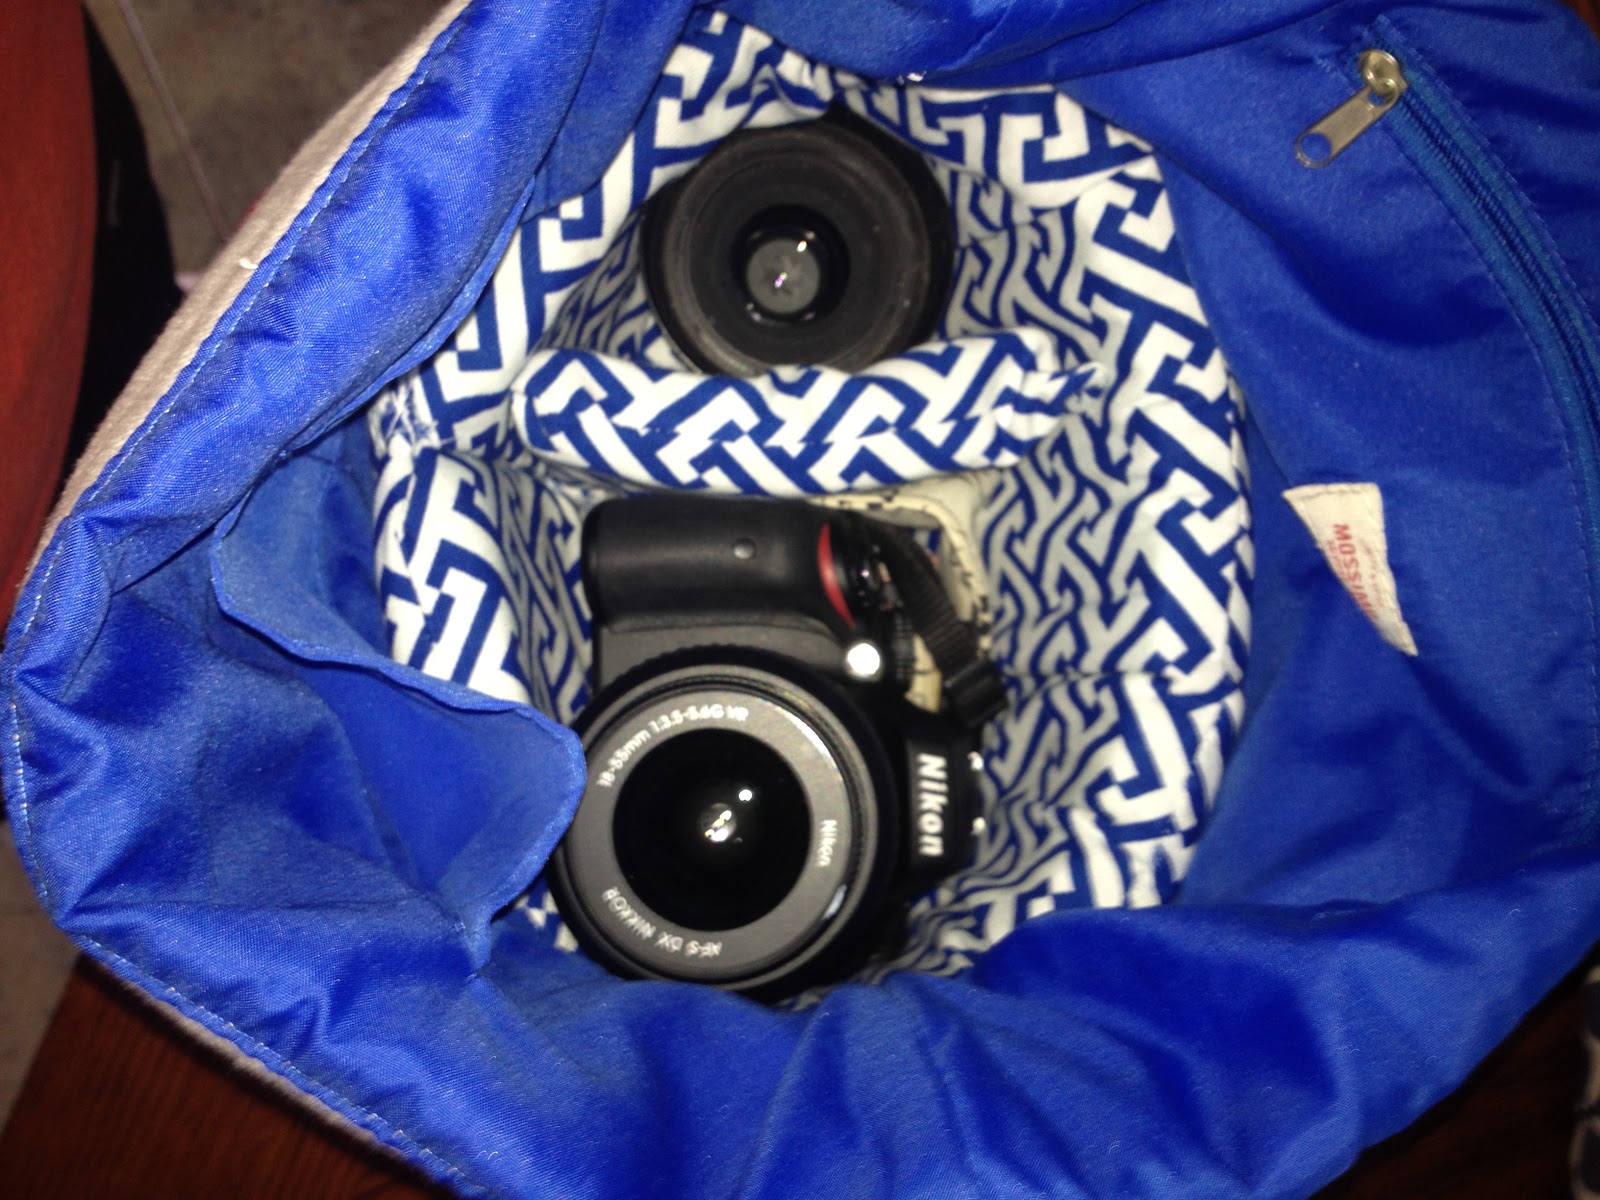
 ...and I made a padded camera bag for me.
 Eli forgot to put on shoes, so we had to buy him a pair of flip flops at Walmart:)
 I baked cookies for our trip and put them in my map covered cookie tubes.
 I packed lots of snacks for the boys.
Day one of our roadtrip!
 We drove through Texas....
 ...and into New Mexico for the first time ever!
 We walked to the bottom of Carlsbad Caverns...
 ...and strolled the streets of Roswell:)
 Then we had a blast playing at White Sands National Monument!
 We had a small mishap with the brakes which meant an hour or two in the parking lot of Auto Zone.
 I ate yummy green chiles on my breakfast burrito.
 We crossed into Arizona!
 Setting up camp at the Grand Canyon.
 First Grand Canyon photo op...say cheese!
 I did laundry for the first time on our trip.
 We had a few close encounters with the wildlife! 
 We visited the Hoover Dam.
 And took a few pictures!
 We spent a SUPER long day in the car heading to California....
 ...and we climbed a ton of mountains to get there!

Pin It!

Friday, June 15, 2012

Roadtrip Ready Round-Up

First I want to say THANK YOU to all my amazing blog friends who helped out with this series! You all shared some amazing ideas! I hope that everyone enjoyed all of the posts in my Roadtrip Ready series. I can honestly say that we used a ton of these ideas on our roadtrip and they really did make the trip better! My boys LOVED the Travel Snack Boxes and the Roadtrip Countdown:) I got a ton of complements on their cute Roadtrip T-shirts, and my camera managed to make it home safely thanks to my Padded Camera Bag! Anyway, I thought it would be fun to do a little round up with all the posts from the series so that the next time you are planning a roadtrip, it will be easy to find all these great ideas in one place!


Linking up here..
Pin It!

Thursday, June 14, 2012

We're Back!

So we made it back from our big roadtrip! You know how you usually need a vacation after your vacation...yeah with a roadtrip that long I think I may need two vacations to get back to normal! I have spent the last two days doing {loads &loads of} laundry and napping. I think maybe the whole being on Pacific time for more than a week has really messed with my sleeping patterns...and the fact that we stayed up late and got up early almost every day of trip may have something to do with it too.

I have lots of pictures to share, but I need to go through and pick out the best ones before I just start uploading a million and one pictures. I had intended to blog some while we were gone, but the wifi gods weren't very nice to me....and apparently it can be difficult to get an internet connection with your phone when you are 8000 feet above sea level:) I had planned to do a little round up of all the great Roadtrip Ready posts from May, so that post may come sooner than my vacation post. And I also wanted to keep up with my monthly Instagram Recap posts {if you follow me on Instagram {@supermom_kelli} then you have already seen a TON of our trip}, but that didn't happen while we were gone so my May recap post will hopefully be up soon too....and eventually I will get around to posting about our trip!

Until then here's a quick picture of the boys by the camper at our campsite at the Grand Canyon:

Pin It!

Wednesday, May 30, 2012

Roadtrip Ready: Keep Them Busy Baskets


Hey guys! I'm Staci from lizard & ladybug. I am loving the Roadtrip Ready series that Kelli is having!! I'm thrilled she's having me today! I don't know about you but having 2 little ones (4 and 6) in the car for more than a Target run can be stressful. In the event we have to take a long trip, I've put together some baskets for each of them full of goodies to keep them quiet busy :)
 I ran to Dollar Tree to pick up a few essentials. Baskets, lined paper, magnetic letters, flash cards and pizza pans. The pizza pans are magnetic and make the perfect 'board' to use the letters.

I also added some crayons and a crayon box.

 I found these cool 'window' markers (anyone try them?) I thought the kids would get a kick out of writing on their windows.
The kids can draw, play with the letters, practice their math (lizard) and letters (ladybug) And if all else fails, I have candy :)
There you have it. My "Keep Them Busy Baskets".
Thanks for letting me visit & I hope you'll stop by my blog and say Hi!
Pin It!

Tuesday, May 29, 2012

Roadtrip Ready: Travel Bingo

Hello, everyone! My name is Amy, and my blogging home is Positively Splendid. It is my goal for my blog to be a haven of DIY and crafting inspiration where creative minds of all skill levels can come and feel right at home. I would love for you to stop in for a visit! I am thrilled to be a part of Kelli's Roadtrip Ready series! With summer upon and and roadtrips right around the corner, I have gotten so many fabulous ideas throughout the last few weeks for making all of those hours in the car a little more bearable. Today I am going to share a game I am planning to play with my kiddos during a roadtrip we have planned in a couple of weeks: Travel Bingo!
This bingo game is played exactly as you would traditional bingo. I recommend printing off a copy of each of the game boards below, and then having them laminated to make them sturdy. 
To play, as you travel to your destination, kids keep an eye out for all of the items on their respective card that they see along the way: trucks, trains, cows, horses and many more. When an item on a card is spotted, have dry erase crayons or makers on hand so they can mark off the spaces as they go. The first one to get a Bingo can be awarded a special treat. Or, to make the game last even longer, play a game of Black-Out where the winner must mark off every square on their board in order to win!
To download the Travel Bingo printables, simply click on the arrow with the line below it at the bottom right-hand side of the boxes below.
Card #1


Card #2


Card #3


Card #4


Thanks so much to Kelli for having me over today! Y'all are welcome at Positively Splendid any time.
Happy travels, everyone!


Photobucket
Pin It!

Friday, May 25, 2012

Roadtrip Ready: Altoids Souvenir Tin

Souvenirs are a big part of any trip...but they can get expensive. That is especially true if you are on a roadtrip with stops at a lot of different places. Plus if you anything like me, your vehicle {and/or camper} is probably already packed pretty tight, so there isn't a lot of space for a bunch of big souvenirs. I saw this idea for Mint Tins Collection {the blog post has quite a few ideas for using Altoids tins, but this was by far by favorite} a few months ago, and I decided it would be the perfect way for my boys to take a little bit of each place home with us...without breaking the bank or overloading the car:)
I started with a couple empty Altoids tins, some white cardstock, and a variety of letter stickers.
Simple turn your tin upside down on a piece of cardstock and trace around the lid. Cut it out and hot glue it onto the lid of your tin.
Then use your stickers to decorate the lid. I chose to just use letters and spell out the places we are visiting on our trip, but any fun stickers would work. Maps, brochures, and postcards would also be great to use for covering the lid of your Altoids tin.
When you are on your roadtrip, simple collect small things that fit into your tin and will remind you of your trip. You can also add a piece of paper with the date of you visit along with any other information you may want to remember. Pictures from each of your stops would also be a really fun addition {I'm thinking some great Instagram shots would be perfect in these}! There are a million and one ways that you can personalize these for your vacation, the main idea here is to take a small memento from each place without spend a ton of money or taking up value leg room in the car:)
Does your family collect anything special when you are on a roadtrip?
Pin It!

Thursday, May 24, 2012

Roadtrip Ready: Car Activity Bag

Hello, "SUPERMOM" readers! My name is Amanda, and I blog at Serenity Now. Having just finished a long road trip, I feel prepared to show you guys our Car Activity Bag and a couple of other ideas to keep your car stocked with for those long hours of travel.
I actually keep this in the Swagger Wagon all the time. It's a Thirty One Bag with our last name stitched on one side...makes it easier to keep track of!
My girls each take ballet lessons once a week, so one sister is inevitably stuck waiting in the minivan with me while the other sister takes over the dance floor in the studio. Between dance lessons, waiting for kindergarten pick-up, and other occasional days we might have some time to kill, this bag gets a good work-out.  
What's inside?
-Coloring Books
-Crayons
-Books
-Electronic Learning Games
-"Dry Erase" Pads It sits right in between the rear seats, so it's accessible to all the kids:
These are awesome for around-town stops, but for genuine road trips, we add some extras to our car!
We stock a stretchy canvas bag with Barbies, books, and a travel case that holds some DVDs. We save our DVD player for any trips that last longer than an hour. That way, the movies are more of a treat; and there's no screaming when we drive 5 miles from our house to Target and they're not finished watching Barbie: A Fashion Fairy Tale.
While DVDs are great and guarantee you some quiet time, you certainly don't want to end the trip with a pair of glossy-eyed zombies in your backseat. I borrow books on tape from the library, and it "forces" them to sit and use their imaginations for awhile. Even my four year old will sit quietly, listening to the story and laughing at the silly parts. You'd be surprised at what they can comprehend!
Some of our favorites have been Beverly Cleary's Henry Huggins, the American Girl Felicity stories, The Lion, the Witch and the Wardrobe, and Mr. Popper's Penguins. The classic books are great for teaching your kids about how people lived in a different time.
In our minivan, each child starts the trip with a snack container filled with goldfish, pretzels, or something along those lines. They have water bottles that we refill when we stop for lunch or gas. I also have a secret emergency cracker stash and a few lollipops for those times when you're stuck in traffic and the kids are screaming and you feel like you might lose it. (What? Is that just me?)
For mom?
I like to have a few magazines, a book, and my smart phone on hand in the front seat. I like to say that I use the navigation on the iPhone, but really I just like to look at Pinterest and/or listen to my playlist while T drives. I don't pack anything of interest for him, because his main concern is really how many hours it will take to get us there, and will we throw his time off with numerous bathroom stops?
If you're traveling with a dog, I recommend getting a doggie water bottle from a local petshop. I picked up this one from PetsMart years ago, and I love the compact size. I fill it with ice and water before we leave the house, and our Emma doesn't get thirsty at pit stops.
For younger kids, getting a small bucket or plastic bin with small, inexpensive toys and books that they've never seen before is usually enough to occupy them. And don't feel guilty for letting little guys watch some extra movies...sometimes that's the only way to keep them from screaming for hours on end (don't ask me how I know). 
So...that's the way this family does road trips. Our 13 hour drive down to Orlando went smoothly with some planning and preparation. I hope yours is just as smooth!
Please stop by and visit me at Serenity Now. I blog about home decor on a dime, crafts, recipes, and home life. I also host a Weekend Bloggy Reading link party that opens each Friday morning. It's a spot for bloggers to share their best post of the week. You can connect with me on FacebookTwitter, and Pinterest...I would love to meet you!
Here's to a Happy Summer! Thanks for sharing your blog with me today, Kelli.
Pin It!

Wednesday, May 23, 2012

Roadtrip Ready: Make a Padded Camera Bag

I have wanted {and needed} a nice bag for my DSLR camera since the first day I bought it. I got the plain black camera bag at the store when I first bought my camera...and it worked fine when I only had one lens. But when you start adding lenses and accessories, those standard black bags just won't cut it. I have drooled over some fancy leather camera bags online, but I just can't make myself spend $100 or more on a bag {and yes most of my purses cost less than $30 and are from Target or Kohl's}. So a few weeks ago when I saw this AMAZING tutorial from Make it and Love it I knew that instead of continuing to drool over camera bags, that I would just make my own.

I started out with a bag from Target that cost $15. The thing that I liked about this bag is that it has the longer strap, so you can wear it across you chest...that way you can do a million other things and not worry about dropping your camera bag. And even though I love the leather bags that I've seen online, this fabric one was way cheaper and I can just toss it in the wash if it gets dirty!
I {kinda/sort of/halfway} followed the tutorial from Make it and Love it and created this cute little padded insert that slips right into my bag. All you need it a little bit of foam and some pretty fabric. I'll  let you click over to the tutorial for the details because although my bag is functional for me, I didn't include a lot of the extra things {like Velcro to hold the divider in place} that the original tutorial did.
After I made the padded insert, I just slipped it down into my bag and added in my camera. Now my camera has a pretty and safe place to stay while we are roadtripping across the West this summer:)
How do you keep your camera safe when you are on the road?
Pin It!
Related Posts Plugin for WordPress, Blogger...