


It is day four of our 6 Days of Summer Fun and I thought it was time for a yummy snack:)

Today, I am sharing how to make
RAINBOW PUDDING POPS!
Just as yummy as regular pudding pops, but so much more fun:)
 Gather your ingredients, supplies, and helpers.
You will need a box {or two} of instant vanilla pudding, milk, food coloring, a couple of mixing bowls, a whisk, plastic or paper cups, and popsicle sticks. Have one of your helpers pour the pudding mix into your biggest mixing bowl.
 Have another helper pour in the milk. Make sure to follow the directions on your package of pudding.
 Once the pudding is mixed according to the directions, evenly separate it into 5 or 6 smaller bowls.
 Add in red, orange, yellow, green, blue {and you can do purple...my boys didn't want it} food coloring to your divided up pudding. Then get a little help stirring until the pudding is the color that you want.
 Spoon the different colors of pudding into your cups. Try to do smooth and even layers so that you will see a good rainbow on the sides of the pudding pop. Have one of your helpers put a popsicle stick into each of the cups of pudding. The pudding should be thick enough to hold up the stick...if not, cover the cup with plastic wrap and then put the stick through the plastic wrap and into the pudding.
 Place the pudding pops in the freezer for a few hours. The time will depend on the size of your cups.
 After they are completely set, take the pudding pops out of the freezer. Use your hands to warm up the sides of the cup so that the pudding pop will come out of the cup easily.
 Then enjoy {& try not to make too big of a mess with} your SUPER cute and SUPER yummy treat!

 Have one of your helpers pour the pudding mix into your biggest mixing bowl.
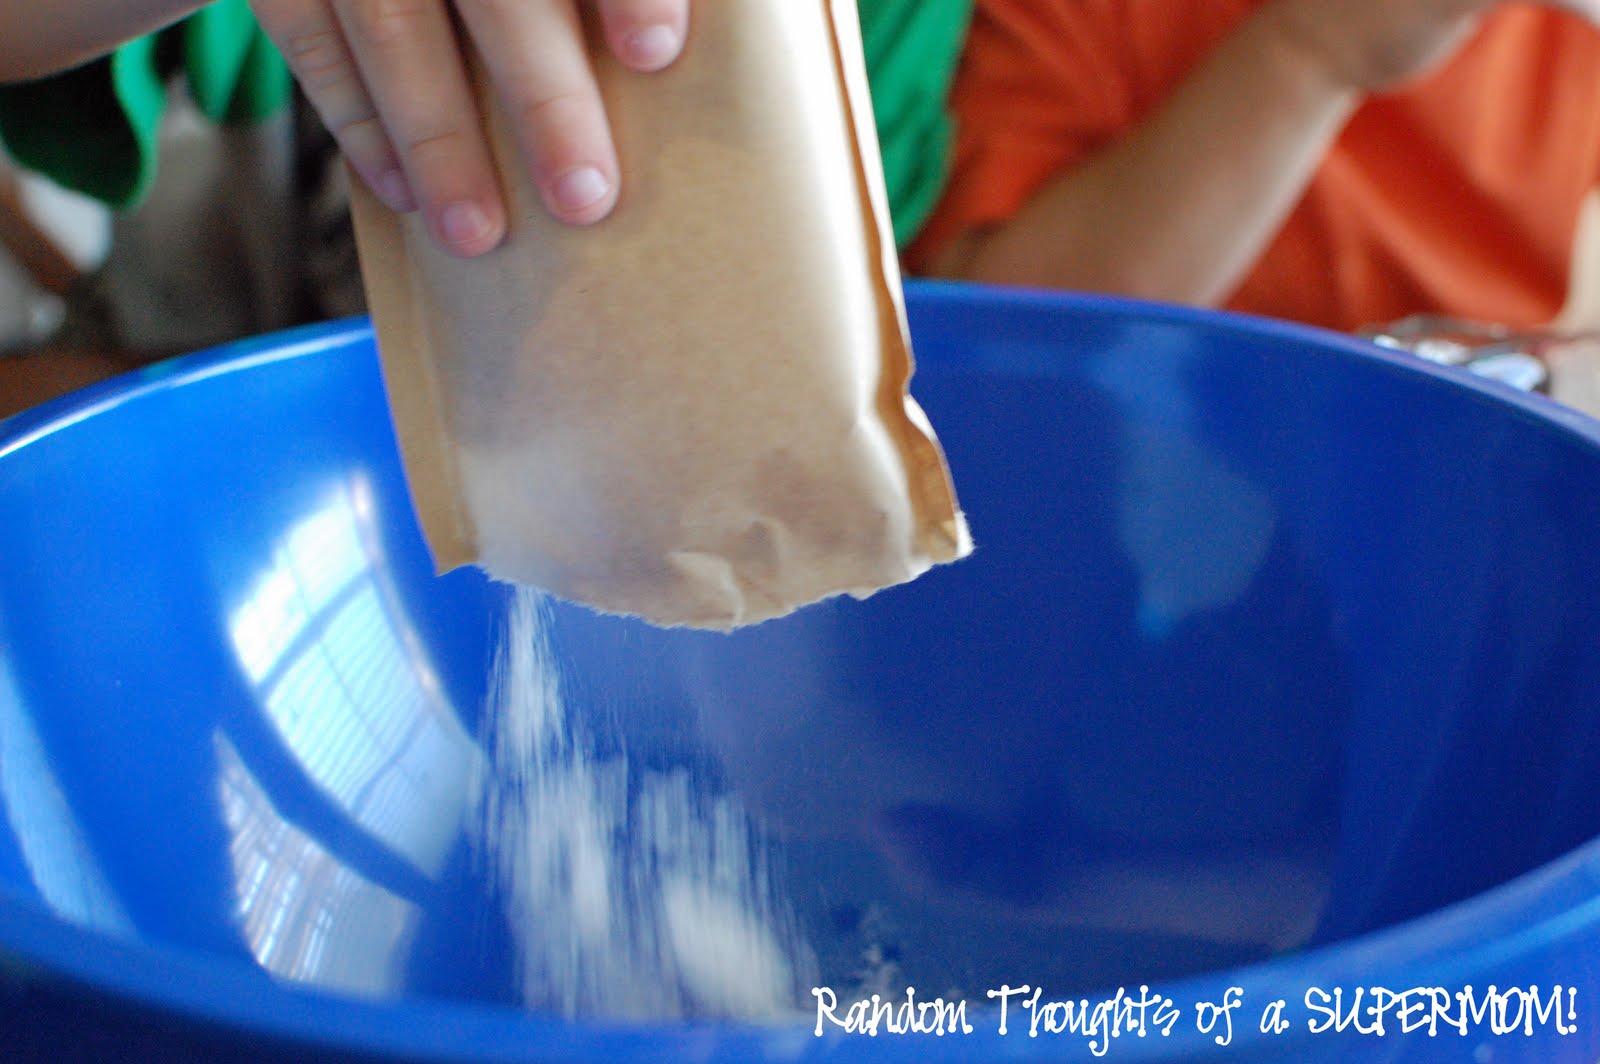 Have another helper pour in the milk. Make sure to follow the directions on your package of pudding.
 Once the pudding is mixed according to the directions, evenly separate it into 5 or 6 smaller bowls.
 Add in red, orange, yellow, green, blue {and you can do purple...my boys didn't want it} food coloring to your divided up pudding. Then get a little help stirring until the pudding is the color that you want.
 Spoon the different colors of pudding into your cups. Try to do smooth and even layers so that you will see a good rainbow on the sides of the pudding pop. Have one of your helpers put a popsicle stick into each of the cups of pudding. The pudding should be thick enough to hold up the stick...if not, cover the cup with plastic wrap and then put the stick through the plastic wrap and into the pudding.
 Place the pudding pops in the freezer for a few hours. The time will depend on the size of your cups.
 After they are completely set, take the pudding pops out of the freezer. Use your hands to warm up the sides of the cup so that the pudding pop will come out of the cup easily.
 Then enjoy {& try not to make too big of a mess with} your SUPER cute and SUPER yummy treat!


