This week is Teacher Appreciation Week.
To show my boys' teachers how much I appreciate them, I put together a little happy for them.
A chalkboard flower pot with some SUPER cute paper flowers
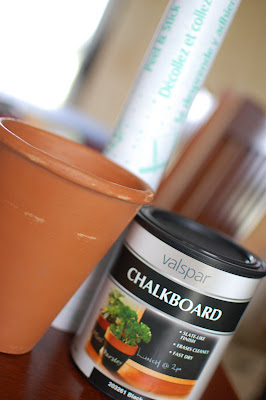
 I started with a terra cotta pot, chalkboard paint, and contact paper.
 I used strips of contact paper to make a square.
 Then I painted the chalkboard paint inside the square.
 While the paint is drying, wrap some green paper around three pencils for each pot. Use hot glue or another kind of adhesive to get the paper to wrap around the pencils.
 Cut out some cute flowers {3 per pot} either with a Cricut or just using a pair of scissors.
 Add a center circle to the flower and hot glue the flowers onto your stems.
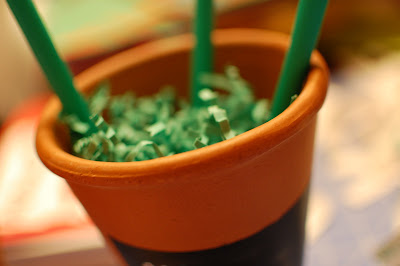
 Stick the flowers into your pot {I hot glued mine to make them more secure} and add paper grass around them.
 Write the teacher's name with a piece of chalk.
 Add in a SUPER cute saying and a few extra pieces of chalk.


 Henry wrote a story about all the things he had learned about Japan.


