Home AboutMe Crafts Food

Monday, May 10, 2010

Not My Kitchen! Monday

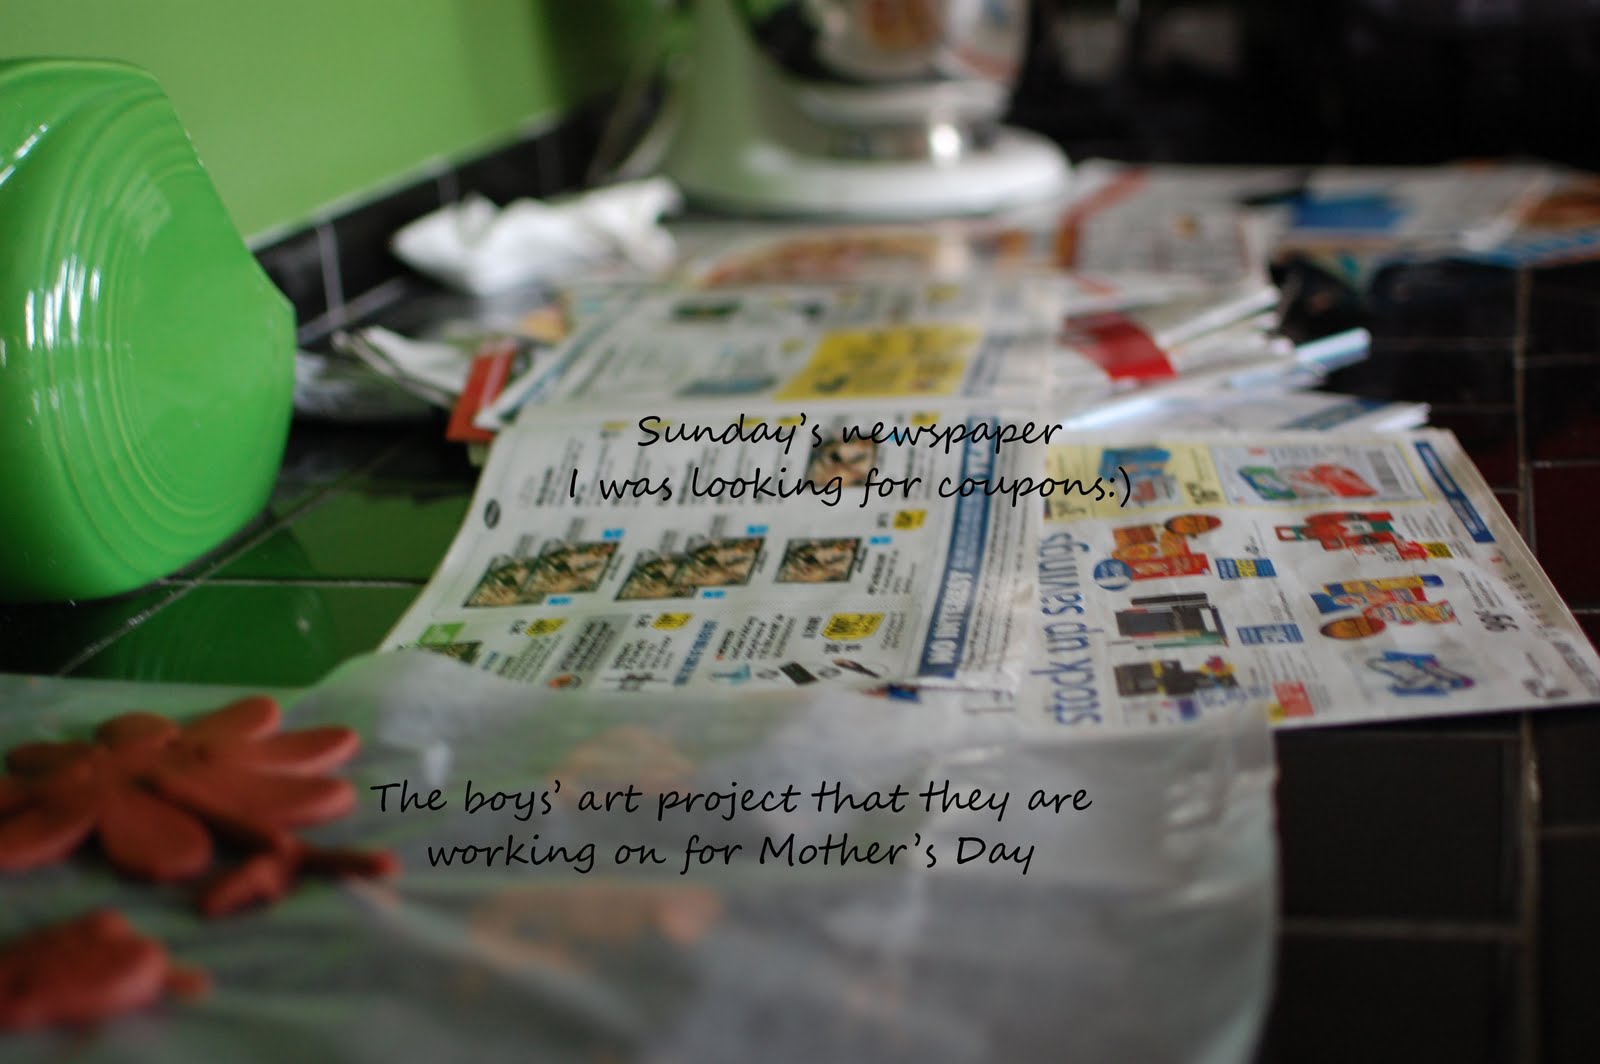
After a SUPER long and SUPER busy weekend, there is NO way that my kitchen looks like this:


Well, maybe it does!
Please tell me I'm not the only one who wakes up to a disaster area of a kitchen on Monday mornings!


Welcome to Not Me! Monday! This blog carnival was created by MckMama. You can head over to her blog to read what she and everyone else have not been doing this week.


Pin It!

Friday, May 7, 2010

Antique Sewing Machine Drawer Makeover

A few months ago, I found a few really awesome things at a resale store that was going out of business. You may remember the $5 school desk and the fork & spoon set. Well, I also picked up two antique sewing machine drawers. Strange purchase I know, but I just loved the details and the quirkiness of them!

This is what I started with. Check out all those great details! But some of the details were loose, and some of them were completely broken off. So I got out the Gorilla Glue to fix them.
I applied a thin layer of the glue to the broken piece and to the spot on the drawer where it was supposed to be.
Apparently my layer wasn't quite thin enough, because this is what it looked like when I came back to check and see if it was dry. No big deal though. I just used a screwdriver to break away the extra foamy stuff and sanded it down a little bit. Though if you use this kind of Gorilla Glue, they aren't kidding when they say use a thin layer!
I painted the drawer with a coat of Krylon Bahama Sea spray paint. {Sorry about the upside down shot}
And then coated it with a layer of white spray paint.
After the paint dried, I sanded the drawer to make the details really pop. I love the little piece on the end that the Gorilla Glue helped me save.
And I love the {very subtle} bits of blue that you can see where I sanded off the white paint.
Now I just have to decide what to put inside the drawer. I think some fake grass would be really cute and add a nice pop of green in the room.
************************
I found some Faux Grass and added it to the drawer. I'm loving it! What do you think?!?


Join us Saturdays at tatertotsandjello.com for the weekend wrap up party!
Visit thecsiproject.com


Pin It!

Thursday, May 6, 2010

Every Child is an Artist

My breakfast room table turned into the boys' art studio yesterday. While I was working on a project for Henry's class, they got out the paper, glue, scissors, crayons, and markers.
And started creating.
If you look closely there is a smiley face on this paper.
And Henry was so proud of the way he shaded this paper by rubbing a crayon on it.
Henry's masterpiece.
It is a man with a bamboo fishing pole who just caught a HUGE catfish:)
Every child is an artist. The problem is how to remain an artist once we grow up. Pablo Picasso


Pin It!

Tuesday, May 4, 2010

Chalkboard Paint and Paper Flowers

This week is Teacher Appreciation Week.
To show my boys' teachers how much I appreciate them, I put together a little happy for them.
A chalkboard flower pot with some SUPER cute paper flowers
supplies I started with a terra cotta pot, chalkboard paint, and contact paper.
tapepot I used strips of contact paper to make a square.
paintThen I painted the chalkboard paint inside the square.While the paint is drying, wrap some green paper around three pencils for each pot. Use hot glue or another kind of adhesive to get the paper to wrap around the pencils.cricutflowers Cut out some cute flowers {3 per pot} either with a Cricut or just using a pair of scissors.
flowercenter Add a center circle to the flower and hot glue the flowers onto your stems.
papergrassStick the flowers into your pot {I hot glued mine to make them more secure} and add paper grass around them.
writenames Write the teacher's name with a piece of chalk.
BLOOMquoteAdd in a SUPER cute saying and a few extra pieces of chalk.
Teacher Appreciation Gift And you have a great personalized Teacher Appreciation gift!


Pin It!

Monday, May 3, 2010

Craftiness

This tube of vinyl came in the mail a few weeks ago.mailing tube Last week, I finally got my cricut out and tried cutting some vinyl.

Cricut
It was SUPER easy to do!
I made this K for my car with outdoor vinyl.
Vinyl K And I made this {SUPER} cute number 6 for my candle holder that was in desperate need of a makeover.
Vinyl 6 There are so many other crafty vinyl ideas floating around in my head and waiting to be discovered on the internet.
*walls*
*lampshades*
*vases*
*plates*
I think I just opened up a 'big can of craftiness worms'!

What kind of crafts do you like to do with vinyl?


Pin It!
Related Posts Plugin for WordPress, Blogger...