Home AboutMe Crafts Food
Showing posts with label Crafts. Show all posts

Thursday, April 28, 2011

Virtual Elmer's Craft & Tell Party & a Giveaway for YOU!

This giveaway is now closed. Congrats to Amy from Amy's Cooking Adventures!
**************************
A few weeks ago I won a really great giveaway from Amy at Positively Splendid: a bunch of great Elmer's crafting supplies!

But the best part about winning the giveaway was that I got to participate in Amy's Virtual Craft and Tell Party! Basically, the five winners of her giveaway were challanged to create something with the things they won and then they get to share their creations at her virtual party....SUPER fun right!?!
*********
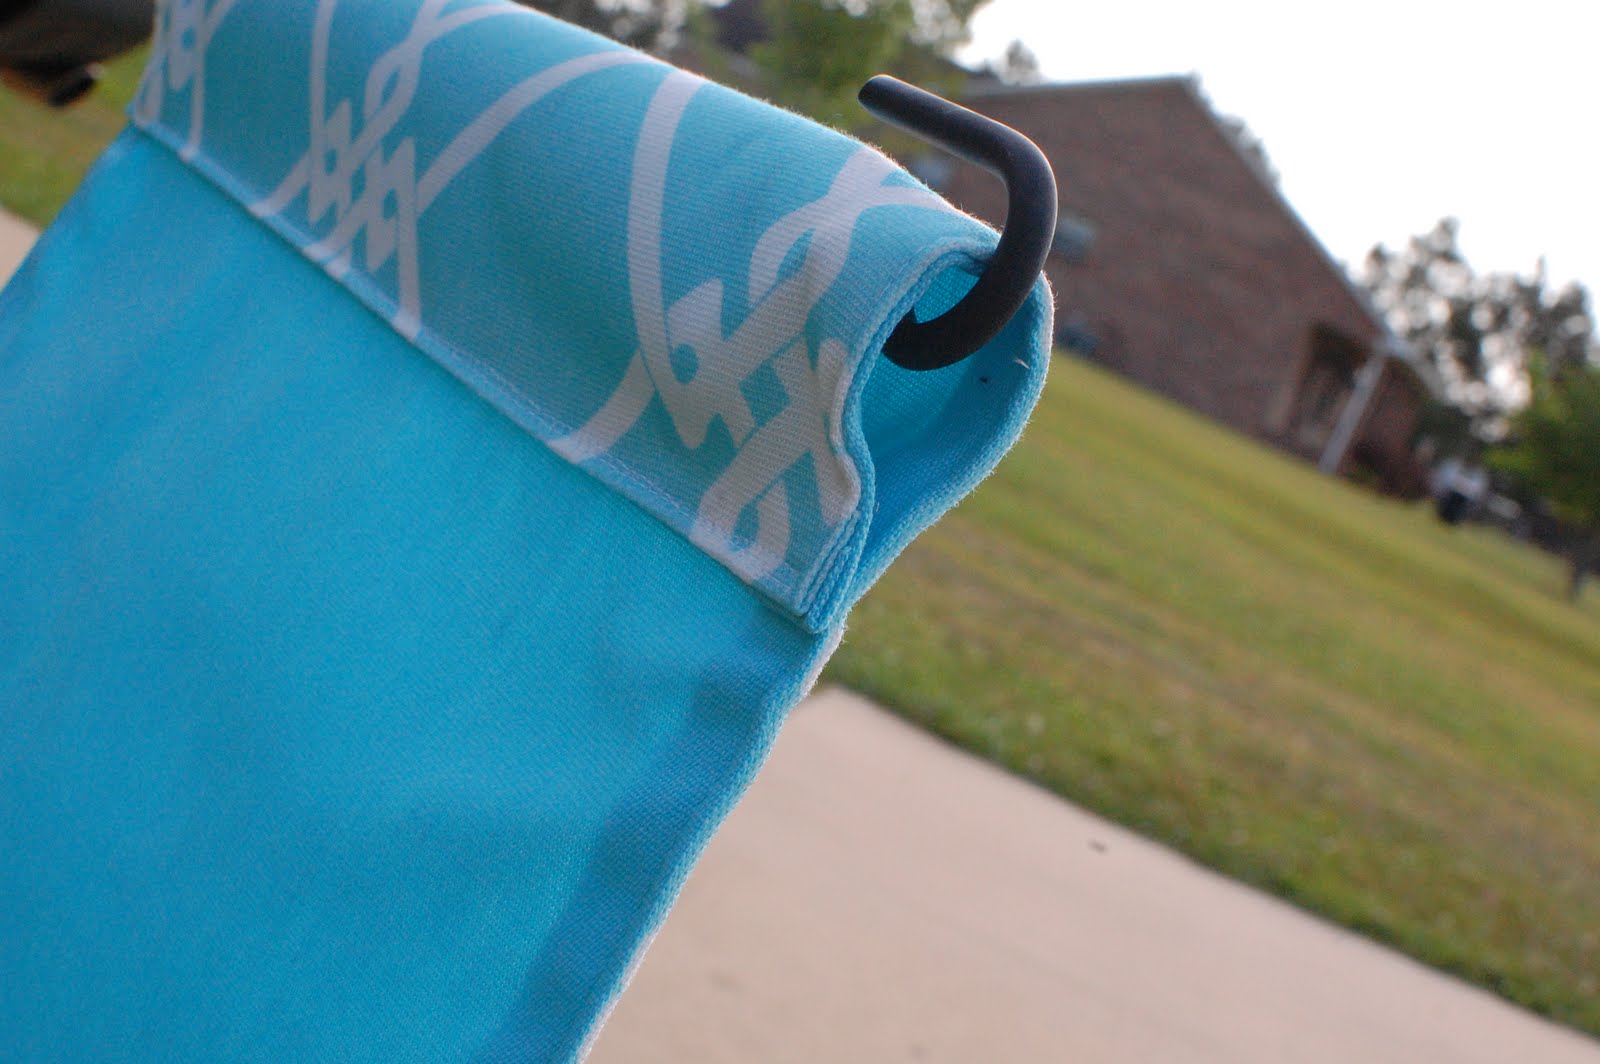
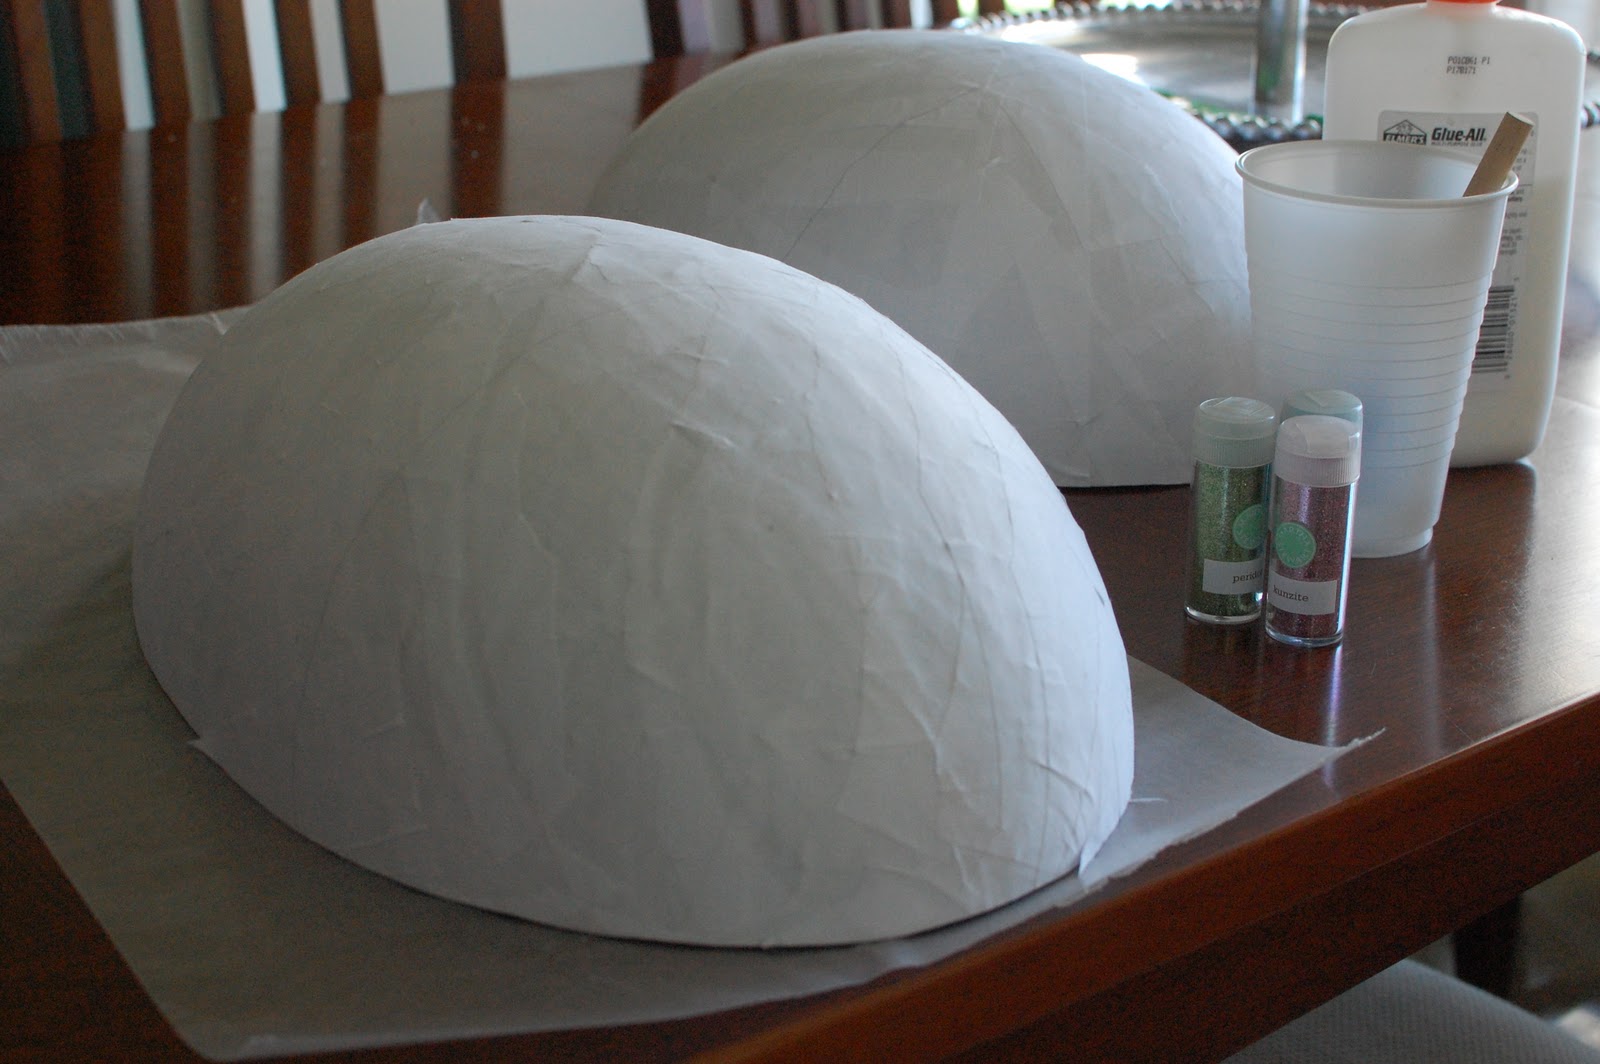
Here is a little sneak peak at what I created:

You can head over to Positively Splendid to see my finished project and what the other 4 winners created.
*****************
Now the really fun part for you is that Elmer's wants to continue the Craft and Tell fun, so today I am giving away a Mini Craft and Tell Party Pack full of great Elmer's crafting goodies! Seriously check out all the craft supplies you can win to use at your own crafting party:
3  X-ACTO Retract-a-Blade knives
3  CraftBond Extra Strength Glue Sticks
3  CraftBond Tape Runners
3 Mini Bi-fold 9x12 Foam Board packs
1 Painters Markers pack
1 X-ACTO Decorative Edge Scissors pack
1 Circle Cutter
1 X-ACTO Self-Healing Mat
1 Glue Dots pack
2 Photo Corners packs (various colors)
1 Gel Pens pack
1 Tacky Glue bottle
**That is plenty of stuff to get you and two friends crafting for hours!**

 To enter:
Leave a comment telling me who you would love to craft with!
Head over to Amy's and leave a comment on her Craft and Tell Showcase Post


Follow Random Thougths of a SUPERMOM! and leave a comment telling me that you do.

Follow me {@SUPERMOM_Kelli} on twitter and leave a comment telling me that you do.
 
Follow {@Elmer's} on twitter and leave a comment telling that you do.

Tweet about this giveaway and include a link to this giveaway post in the tweet.
Great giveaway for a mini Craft & Tell Party Kit from @ and @ Check it out:
****************
This giveaway is open to U.S. residents only. The giveaway will end next Thursday, May 5th at 10 pm CST and I will chose a winner via random.org. Please make sure to leave an email address in your comment if it is not in your profile. Good luck and thanks for entering!
Pin It!

Thursday, April 21, 2011

Pen and Pencil Caddy: Kids Recycling Project

In celebration of Earth Day tomorrow, Henry had to make a recycling project for school. We thought of a bunch of ideas from a soda bottle bird feeder to a fold up race track made from a big box, but in the end we made a cute Pen and Pencil caddy out of an old cereal box and some toilet paper tubes.
 We started by cutting the bottom of the cereal box off just a little bit shorter than the toilet paper tubes. Then Henry got busy measuring, cutting, and then gluing decorative paper to the box and 5 toilet paper tubes.
 I used an X-acto knife to straighten up the top edge of the box.
 When all of the toilet paper tubes were covered, we placed them inside the box.
 I printed out a Pens & Pencils label for the front just to make sure his teacher knew what he had made:)
 And that is how you make a really cute, easy, and RECYCLED Pen and Pencil Caddy!
Have you recycled anything today?
{For more fun Earth Day ideas, check out this fun post from last year when we made upcycled sand toys!}
What kind of fun treats are you making for your kiddos this summer?
Visit thecsiproject.com
Pin It!

Monday, April 18, 2011

Adding a Little Spring

I have a love of pretty placemats...but the funny thing is there actually aren't any placemats on the tables in my house. Instead we have placemats on our couch, and now we have placemats on our porch and in our yard!
I saw these really pretty placemats a Target a few weeks ago and knew that they were just the pop of spring color that I was missing in my front yard. I picked up three of them at $2.99 each, and for less than $10 I created a new garden flag and covered two outdoor pillows.  Let me start by saying that these were a little more heavy duty than the placemats I have bought previously, so I have a feeling they were made for outdoor use...and so far so good. 
 To make the garden flag, all I did was fold over one of the short ends of the placemat and sew in place making a loop to hang the flag. I didn't add any embellishment to the flag because I love the pattern of the placemat, but you could easily sew or glue on an initial or monogram.
 I also covered my outdoor pillows that sadly still had the black and orange covers on them from fall!
 To cover the pillows, I simply used my seam ripper to take out the seam from on of the short sides of the placemat. Then I slipped the placemat over the pillow and folded down the extra fabric.
I think these were just the thing my front yard needed to get ready for spring!
Pin It!

Thursday, April 7, 2011

Paper Mache Easter Eggs: Non-Wreath Door Decor

Paper Mache! A bunch of you smart people guessed correctly that we were working on a paper mache project from my Crafty Sneak Peek yesterday!
**************
We started our project with some old newspapers, glue, and a giant plastic Easter egg that I picked up at Hobby Lobby. That was the only thing I could think of to use as a mold for our paper mache eggs, so I used a 40% off coupon and got it and two smaller eggs for around $12. Henry helped me tear up the strips of newspaper, then all three boys got their hands {and the rest of their bodies} dirty helping me cover the giant plastic Easter egg with the strips of newspaper coated in a mixture of water and glue. We put on about three layers of newsprint, then they got bored and ran off:)
After the newsprint layers were dry, I added a layer of torn up white printer paper....that way I could just glitter right over the white paper without painting, but the white paper also makes painting a little easier too.
After drying for two days, Jason carefully cut all the way around the egg with a blade and popped the two paper mache egg halves off the plastic egg. Now it was time to pretty up my eggs:) I got out some Martha Stewart glitter, glue, a foam brush, and a few pieces of wax paper to catch the excess glitter.
I poured the glue onto the egg, spread it around with a foam brush,and then sprinkled on the glitter as evenly as possible. I worked section by section and let each color dry well so that when I was shaking off the excess glitter the colors didn't mix.
After the eggs were pretty well coated with glitter I took them outside and sprayed them down with a clear coat to protect it from moisture and to keep the glitter from getting on everything!
After the clear coat was dry, I used my hot glue gun to add some decorative rick rack between the different colors of glitter.
The last thing I did was poke a small hole through the top of the egg to add a piece of ribbon for hanging. I tied a bow at the top of the ribbon and then tied a double knot at the end of the ribbon inside the egg to keep it in place.
And here they are fun and sparkly hanging on my front door!
I love that they are different than a normal wreath and I love that my kids actually got to help me make them...they just didn't get to help with the glitter part {it was messy enough without them helping}!

How do you decorate for Easter?
Visit thecsiproject.com
Pin It!

Tuesday, March 29, 2011

Water Your Garden in Style

Spring has sprung in Mississippi which means the grass is turning green and if you want to plant anything, now is the time. We were pretty successful with our grapevines last year, so this year we decided to try out a little gardening. When I say little, I mean little...we started with four strawberry plants and two tomato plants. Spring is Jason's busy time at work and I have the exact opposite of a green thumb so we didn't want to plant too much our first time around. Jason made a raised bed out of landscape timbers, added in some soil, and planted our garden:)
 I knew I wanted the kiddos to be involved too, so we set out to find some cute watering cans for them. We found some at the dollar store, but there was just one problem. If you have been a reader of my blog for long, you know my love of color coding things for my kiddos and you also know that Henry's color is blue, Grant's color is green, and Eli's color is orange. We got Henry and Grant taken care of, but all that was left for Eli was a pink watering can!
 That wasn't a problem that a simple coat of spray paint couldn't take care of though:) I used an old can of orange spray paint and {halfway} covered up the pink.
 I also used a paint pen to personalize the water cans for the boys:) Then they got busy watering the garden!

Do you plant a spring garden?
Pin It!

Thursday, March 24, 2011

Five Minute Monogrammed Doormat

I bought a new doormat for our side door last week. It was a nice sisal mat with a great herringbone pattern...but it was kind of boring. I decided the best way to dress it up {quickly and easily} would be to add a monogram to it.
I used my computer to find just the right W...not too plain but not too frilly either.
I printed it out.
Then I used spray adhesive to attach the printed W to the backside of a piece of contact paper. I had to make sure that the letter was facing the right directions so I didn't end up with a stencil for a backwards W:)
I used a blade to cut out the W basically  making a stencil out of the contact paper. You could also just cut the letter out of paper or cardstock and the spray it with adhesive to get it to stick to the mat.
I placed the stencil on the doormat and decided where I wanted the monogram to be. I decided on the bottom right hand corner, but I think it would have been great in the center too. Make sure to press the contact paper down really well....I learned the hard way that not much sticks to sisal but as long as it is sort of stuck down it will still do a pretty good job.
I covered the rest of the doormat with old newspaper and then enlisted the help of a few {dirty} little feet to help keep the paper in place. FYI spray painting on a windy day is not fun:)
I used an old can of black spray paint, and quickly sprayed a light coat over the stencil being sure to spray straight down so that the paint didn't get under the edges of the stencil. Let the paint dry for about a minute then remove your stencil.
And in just about five minutes I had a great monogrammed doormat!
Weekend Bloggy Reading
Pin It!

Thursday, March 17, 2011

Happy St. Patrick's Day!

I hope you all have a great {GREEN} St. Patty's Day!
Here are a few pictures of Eli showing off some of our fun festivities:)

 Find the St. Patty's Day tie tutorial over at Mandy's place Sugar Bee Crafts!
And you can find the tutorial to make these SUPER cute Shamrock Marsmallow Pops over at Poca Cosa. She used heart shaped marshmallows which I couldn't find in the middle of March, but I think they still turned out SUPER cute with the regular marshamallows!
**********************
If you need any other last minute ideas to celebrate St. Patty's Day check out my
HAPPY ST. PATTY'S DAY!
*************************
Pin It!

Wednesday, March 9, 2011

Lucky (Shoe) Charms

One of the worst parts about boys {in the fashion world anyway}, is the lack of accessories especially when it comes to holidays. Little girls can wear hairbows, necklaces, frilly socks, purses.....well you get the picture! And what do boys have?!? Maybe a hat or cute tie if you are lucky!
So when I started trying to come up with something for my boys to wear for St. Patrick's Day I knew I was going to have to think outside the box a little. My boys wear uniforms to school so a cute shirt is out of the question, and I'm pretty sure they would both refuse to wear a tie {even though I think a tie would be absolutely adorable}. So decided to bling up their shoes with some Lucky Shoe Charms!
I started with two colors of felt and a shamrock template.
Cut one color felt a little larger than your template and cut the other color felt a little smaller to make a layered shamrock.
Use a hole punch and make a hole through both layers of felt.
Sew the two pieces together either with a straight stitch or a decorative stitch. You could also simply use hot glue to hold them together, but I like the little bit of contrast from the white thread.
Tie the charm onto your little guy's shoe and they will be pinch free on St. Patty's Day!
Pin It!

Thursday, February 24, 2011

Cherry Red Table

I have to admit I didn't always love spray paint. But that was back when I was foolish enough to think that the cheapo spray paint was as good as the more expensive stuff. I would go through two or three of the $1.99 cans of spray paint on a project, and end up with poor coverage and a sore trigger finger! Then I discovered how wonderful name brand spray paint can be. I have used both Valspar and Krylon, and they are both WAY better than the cheapo cans I used to buy...and really they aren't that much more expensive!
******
My latest spray paint victim is this lovely but {oh-so} boring table that has been a resident of our foyer for quite a few years. My mom bought it for us at a thrift store a few years ago, and it fit perfectly in the space. I wasn't really thrilled with the ultra-traditional look of it, but it was good enough. I decided that spray paint was the way to go for this table redo mostly because I was so happy with how spray paint transformed my end table!
Jason helped me disassemble the table, we sanded it down just a little, I covered the mirror with newspaper, and then I got busy spray painted the table with Krylon Cherry Red!
{This is a close up of the color just because my 'after' picture didn't really show the true color.}
I am still amazed at how well the spray paint covered and how professional it looks....and it only took two cans of spray paint and two hours!
My newly spray painted Cherry Red table complete with new fabric covered lampshade:)
Have you spray painted anything lately?
Pin It!
Related Posts Plugin for WordPress, Blogger...