Home AboutMe Crafts Food

Friday, September 16, 2011

Candy Corn Waffles

After making fun kid friendly waffles this spring {rainbow waffles} and this summer {watermelon waffles}, I figured it was time to start working on some fun fall waffles! I had a couple of ideas in my head, but candy corn waffles won out as my first attempt...and I'm so glad they did! Aren't they adorable! My boys were so excited about them, except they were a little sad that they didn't actually have candy corn in them! I may have to work on that for next time:)
Start with your usual cast of {fun} waffle making characters: waffle mix and food coloring.
Mix up your batter according to the package directions and then divided the batter into three bowls. Leave one bowl uncolored and then add yellow coloring to one bowl and orange coloring to the other. I made a little more yellow batter since it is the largest area of the candy corn.
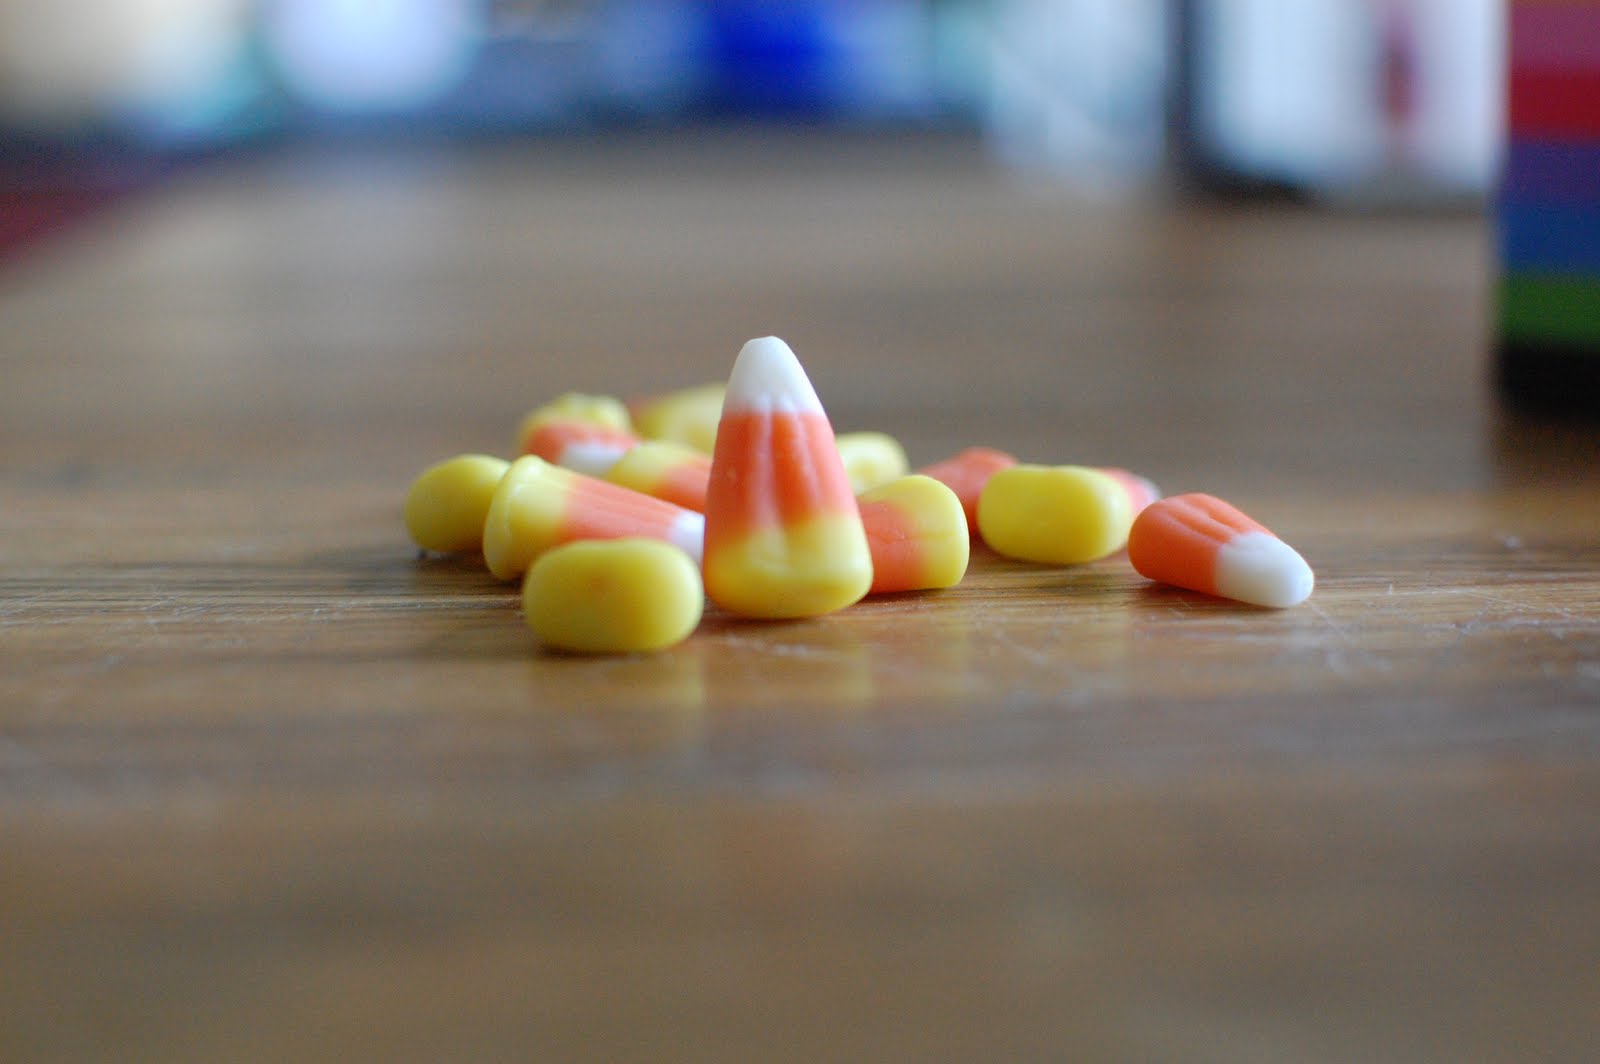
I closely inspected some real candy corn to make sure I added the colors in the right order:) Just in case you weren't sure it goes white, orange, yellow from top to bottom!
Spray your waffle iron with non-stick cooking spray....you don't want your candy corn creations to stick:) Start in the middle of your waffle iron with a small circle of the uncolored batter. Add a ring of orange batter and then a ring of yellow batter around the outside.
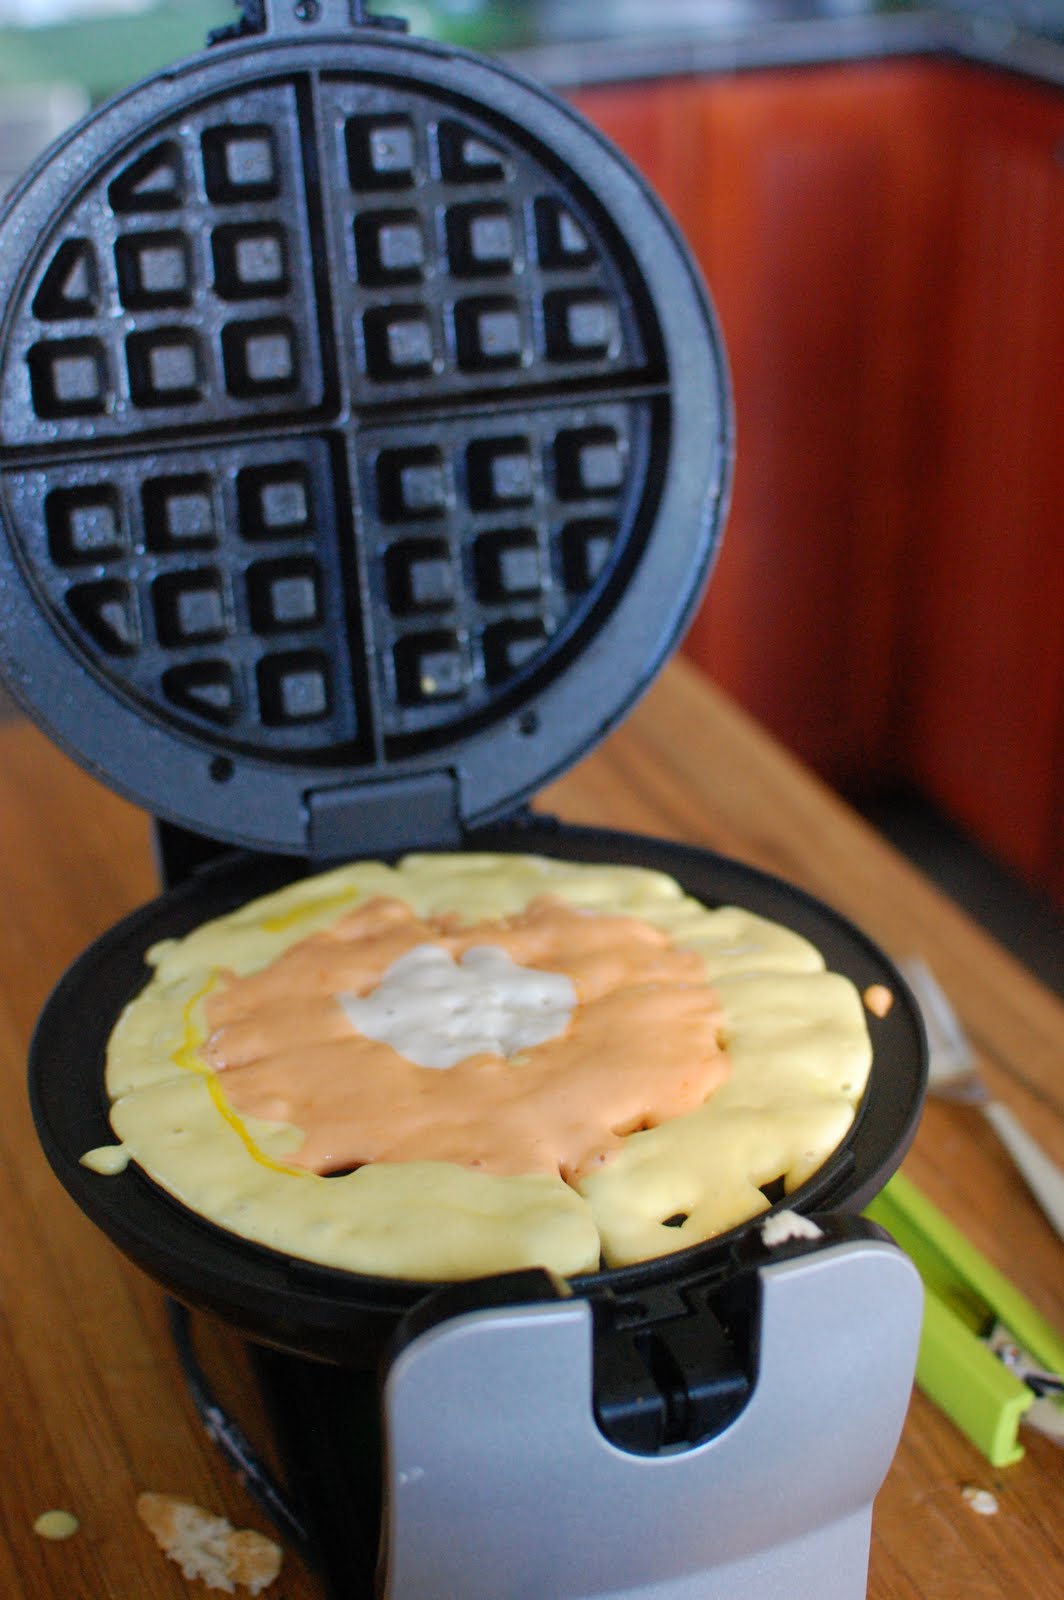
This is what a whole waffle will look like:
To finish up your Candy Corn Waffles, cut the whole waffle into fouths.
Next on my waffle to do list is going to be Jack-o-Lantern Waffles...and I'm thinking fall is the perfect time to try out some savory waffles too!
Visit thecsiproject.com
Pin It!

Thursday, September 15, 2011

Football Windsocks

Early this week, I confessed that my front porch was still decked out with patriotic decor even though we are halfway through September. So yesterday I got busy making my porch a little more festive for football season instead of the 4th of July! I knew that I loved the look of my Tin Can Windsocks, and I wanted to put something up in their place...and what could be better than some windsocks made to look like FOOTBALLS!
I started with the same supplies as my 4th of July version: old formula cans, spray paint, ribbon, white contact paper, and twine. I cleaned out the cans, dried them really well, and then sprayed them with a good coat of brown spray paint.
After the paint dried, I brought them inside to decorate with white contact paper. I cut one inch wide strips of contact paper long enough to go all the way down the side of the can. Then I cut 3/4 inch strips that were about 3 inches long to make the cross stitches. I used 2 of the longer pieces and 6 of the shorter pieces per can so that I had a "football" on two sides of the can.
This is where this project gets really fun, because now you can personalize them to show your team spirit! I used maroon and white ribbon because we spend most of the year cheering for the Mississippi State University Bulldogs...plus the boys' school colors are maroon and white too! I think these would be really cute with almost any team color combo...blue and orange for Auburn, purple and gold for LSU...whatever team you cheer for! I cut my ribbon into 12 inch lengths and then hot glued them inside the can alternating the two colors.
After you add your ribbon, make two holes in the top of the can with a screwdriver and hammer. Then feed your twine through to make a hanger for your windsock.
Hang your Football Windsocks proudly on your front porch and then get ready to cheer on your favorite team!
How do you decorate for {or celebrate} football season?

Photobucket"
Pin It!

Wednesday, September 14, 2011

Wordless Wednesday: A Good Book


The man who does not read good books has no advantage over the man who can't read them. ~Mark Twain
Pin It!

Tuesday, September 13, 2011

Confessions of a Craft Slacker


We're almost halfway through September...two weeks into football season and well on our way to fall. Anybody want to take a guess at what my front porch looks like?!?
If you guessed all cutesied up for football season or decked out with pumpkins, hay bales, and scarecrows you would be SO wrong.
Nope, my front porch still looks like this:
Yep, the middle of September and my 4th of July decorations are still up! I have a few ideas of what to change out the flags for, but all you have to do is check out the title of this post to see why the stars and stripes are still flying proud on my front porch.
*****
Hi, my name is Kelli and I am a craft slacker!
*****
The sad thing is my front porch isn't the only place where my slacking is showing through. The back patio is looking pretty sad too after a few of my patio makeover elements gave out!
Do you remember my lovely Outdoor Toy Organizer? Well if you don't here's a little refresher...except don't look too closely because this is what it looks like now with sagging shelves and peeling paint.
Apparently my attempt to seal up a wooden shelf and make it outdoor proof failed....thank you very much in advance for not saying "I told you so"! I heard that enough from my hubby:)
And do you remember my old window turned outdoor wall art? Here's what it looked like before:
And here is what it looks like after a strong gust of wind snapped the wire it was hanging from and sent it crashing to the ground:
Obviously picture wire that is perfectly fine for indoor uses is not so great for things that are outside and might be moved by the wind!

And this just might be my worst confession of the day....do you remember this oh so pretty wall decor that I added to my kitchen back in April?
Yes it is Easter decor, and yes it is still hanging proudly on my kitchen wall. Okay, maybe not so proudly since we are closer to Christmas than we are last Easter...but at least it matches my walls:)
*******
I'm sure there are few more confessions that I could share with you...like my craft room that looks like it could be declared a disaster area or the rug I bought 5 months ago with plans to stencil that is still folded up on my bedroom floor...but instead, I would love to hear about some of your slacker ways! Is there anything around your house that you have been putting off? Do you need to join me at the next Craft Slacker Anonymous meeting?
Weekend Bloggy Reading
Pin It!

Monday, September 12, 2011

Monday Morning Quarterback

...or maybe just Saturday morning PeeWee Football:)
We had a day FULL of football this Saturday. The day started with Grant's 9:00 am football game. His team played hard, scored a touchdown, but lost by a few points...mostly because the other team was WAY bigger than our team. One boys on the other team was probably as big as three of our boys put together! But the Golden Eagles held their ground and played hard anyway!
**************
After Grant's game, we came home to watch a little bit of college football on tv and eat some yummy pizza. Then we headed back to the football field for Henry's game that afternoon. Henry {#54} is the one in navy that is down on the line and ready to go. His team played hard and won their first game!

 Eli spent the day cheering in the stands! He says Henry and Grant are #1!
Did you watch any football this weekend?
Pin It!

Friday, September 9, 2011

Griddle Crayon Art

 I sure I'm not the only mom who stocks up school supplies when back to school season rolls around. As soon as I see the .25 and .40 cent crayons, I go a little crazy and start throwing tons of boxes in my cart....because who doesn't love getting 24 of something for so cheap! So when I get home with all my pretty boxes of nice, new, unbroken crayons, I have to figure out what to do with the old broken ones.I just can't throw them away, even though I only paid .40 cents for them and surely got my money's worth out of them last year! If you are looking for something to do with your old crayons, this is the perfect craft to make with your kiddos to keep those crayons out of the trash and add a little bit of fun decor to your fridge {or art clothesline/wall}!
 Start by peeling the paper off of your old crayons. This is a great task for the kiddos to do while you get everything else set up:)
 Next get out your griddle {or a hot plate would work too} and a box a aluminum foil.

Tear off a couple pieces of foil big enough to cover your griddle. This is to protect your griddle from stray/runaway crayons:) I used three pieces just to be safe, but if you are using heavy duty foil one piece is probably enough. After the griddle is covered with foil, turn your griddle on low to warm up. When you get started, you may need to adjust the heat up some just be sure to not make it too hot!
To make things easier, cut your paper to the same size as your griddle. The sides of the griddle will help keep the paper in place. You could also use a small piece of tape to keep the paper in place just be careful not to tear your foil when you remove the tape.
 Hand your kiddo the crayons...
 ...warn them not to touch the HOT griddle {and supervise them closely}...
 ...then let them create!
Eli had a blast gliding the crayons over the warm paper and we even managed to come away with a pretty cute work of art. We added a few stems and leaves, and turned his orange 'scribbles' into a pumpkin family perfect for fall decorating!
Weekend Bloggy ReadingJoin  us Saturdays at tatertotsandjello.com for the weekend wrap 
 up           party!
Pin It!

Tuesday, September 6, 2011

Housekeeping

Housekeeping is something I have been terrible at lately....with both my actual house and with my blog. So today, I'm trying to take care of a few things and hopefully get back on track.

The first thing I need to take care of is the giveaway that I hosted back before our trip to Disney that I never picked a winner for! I had actually forgotten about it in all the craziness of life until my little package came in the mail with some yummy Ragu sauce and $20:) So I used random.org to pick a winner from the 123 comments, and the winner is Mari! Congrats Mari! I have sent an email and she has 48 hours to respond.

Remember last week when I complained about needing a vacation from my vacation, and then I told you I was only 2/3 unpacked....well, I am still only 2/3 unpacked. I have one suitcase that just will not unpack itself, and I can't seem to make myself do it either. It is actually the suitcase that the kids' clean clothes got put in when we left Disney, along with a ton of other miscellaneous stuff. The miscellaneous stuff is the hardest to unpack because I have to figure out where all of it goes:)

Besides avoiding unpacking, I spent most of last week busy planning a birthday party for Grant and Eli. Grant turned 6 the week we were on vacation and Eli turned 3 yesterday. Instead of trying to cram two parties into two weeks, we had a joint pool party...in the middle of a tropical storm! I don't recommend trying to throw an outside birthday party when the wind is whipping and the rain is coming down in sheets, but that is exactly what we did...and the kids even got to get in the pool for a while when the rain and wind stopped for about an hour:)

Here are just a few pictures from the party:
Can I just tell you how much I love Photoshop. The day was all dreary and dark, but you can hardly tell that from the pictures once I increased the brightness of each photo just a little:)
 The lady at the bakery didn't quite get my vision for the boys' birthday cakes. I was thinking more clean and modern to go with the fun stripes and polka dots that were in the invites and other party decorations...she was apparently inspired by our weather. I ended up adding the gumballs around the edges of the cakes to add a little bit of fun and color. It worked out great and the kiddos loved that they got a piece {or two} of gum with their slice of cake:)


Grant and Eli both had a great time at their party and Eli even got the "big red blue bike" that he has been wanting for the past two months:)
Pin It!
Related Posts Plugin for WordPress, Blogger...