Home AboutMe Crafts Food
Showing posts with label Crafts. Show all posts

Tuesday, July 12, 2011

Ugly Patio Box to Cute Outdoor Seating

We bought a patio box a few years ago to store all the boys outside toys. At the time it was really functional for keeping all their toddler riding toys, sand buckets, and their Fisher Price Bubble Mower in one place instead of all over the yard. We even used it as a seat sometimes, but over the years our patio box took a beating. It even had a hole in the top that I'm pretty sure came from a baseball bat. So when I started our patio makeover I knew something had to be done to our old neglected patio box.
The first thing I had to tackle was the big hole in the top of the lid....and it was duct tape to the rescue! I simply used stripes of duct tape on the outside and inside of the lid to seal up the hole.
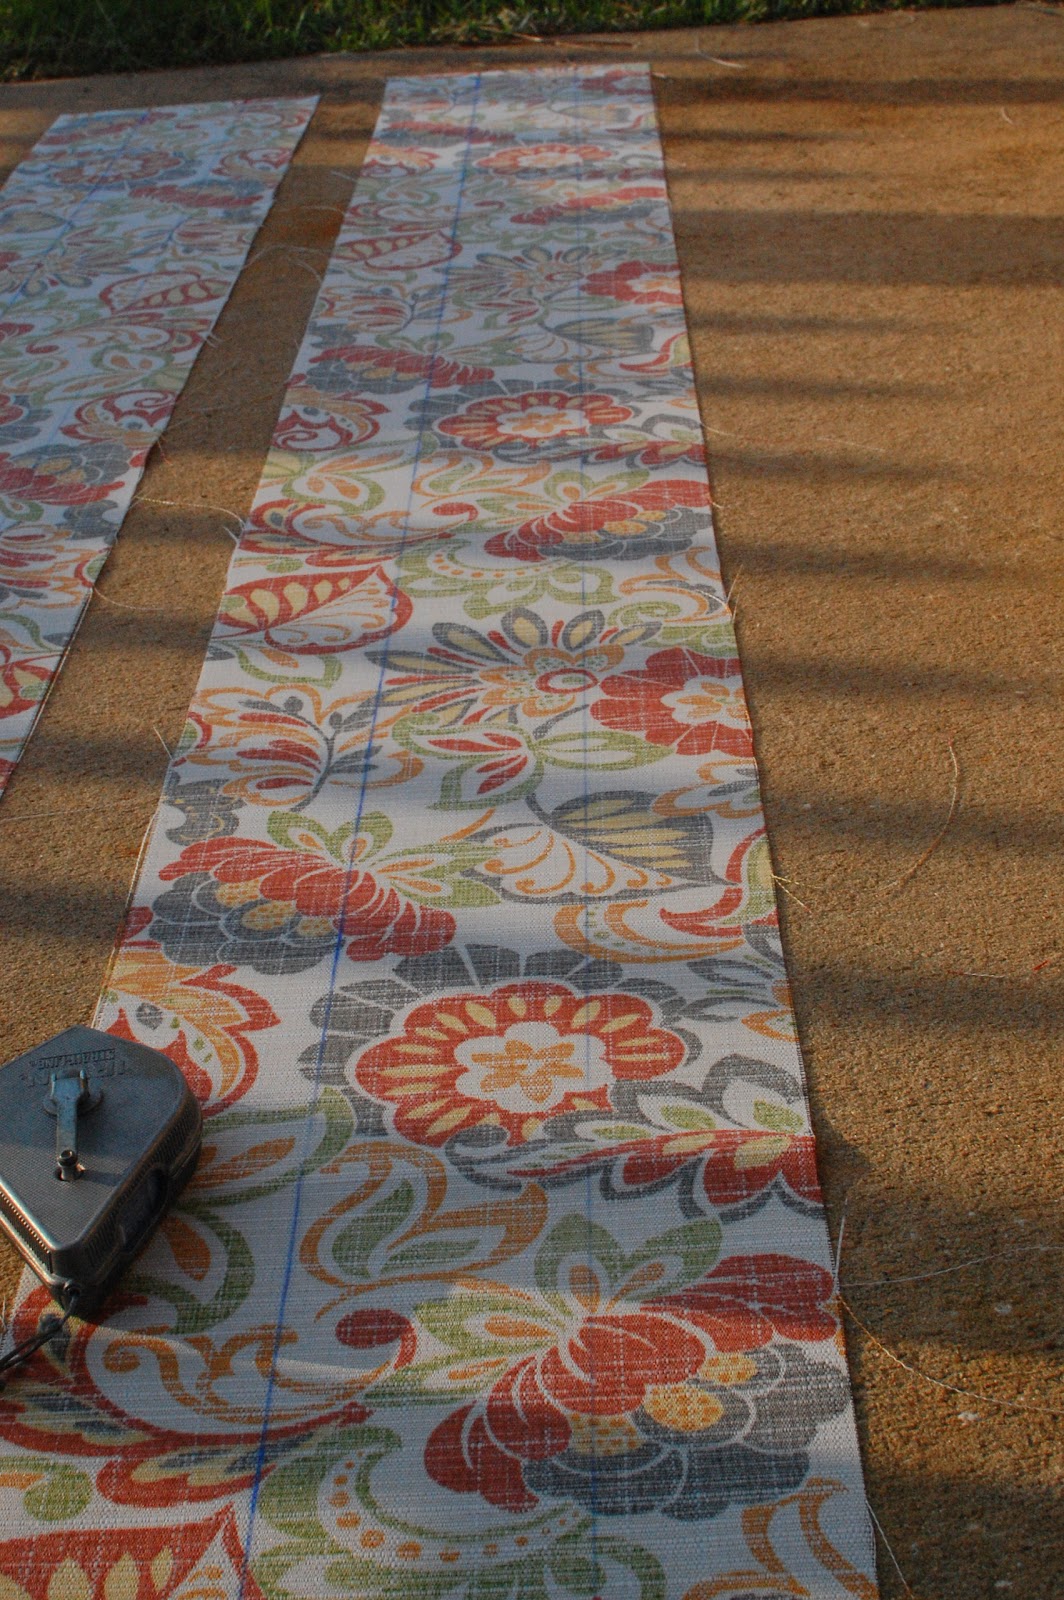
 I bought a piece of foam and cut it to size with a bread knife...I've also heard an electric knife works well for cutting foam, but I was too lazy to dig ours out of the back of the kitchen cabinet:) After removing the lid from the box, I sprayed the lid with spray adhesive and stuck my cut to size piece of foam on it. Then I sprayed the top of the foam with spray adhesive. I placed the fabric upside down on the ground and carefully positioned the foam/lid onto the fabric.
 Using screws and my hubby handy drill, we attached the fabric to the lid after wrapping the fabric around the outside edge of the lid. I wasn't sure how a screw would work on the plastic lid, but after we found the right kind of screw it was no problem at all. I have no idea what kind of screw we used, just that some of the ones that we had wouldn't work:)
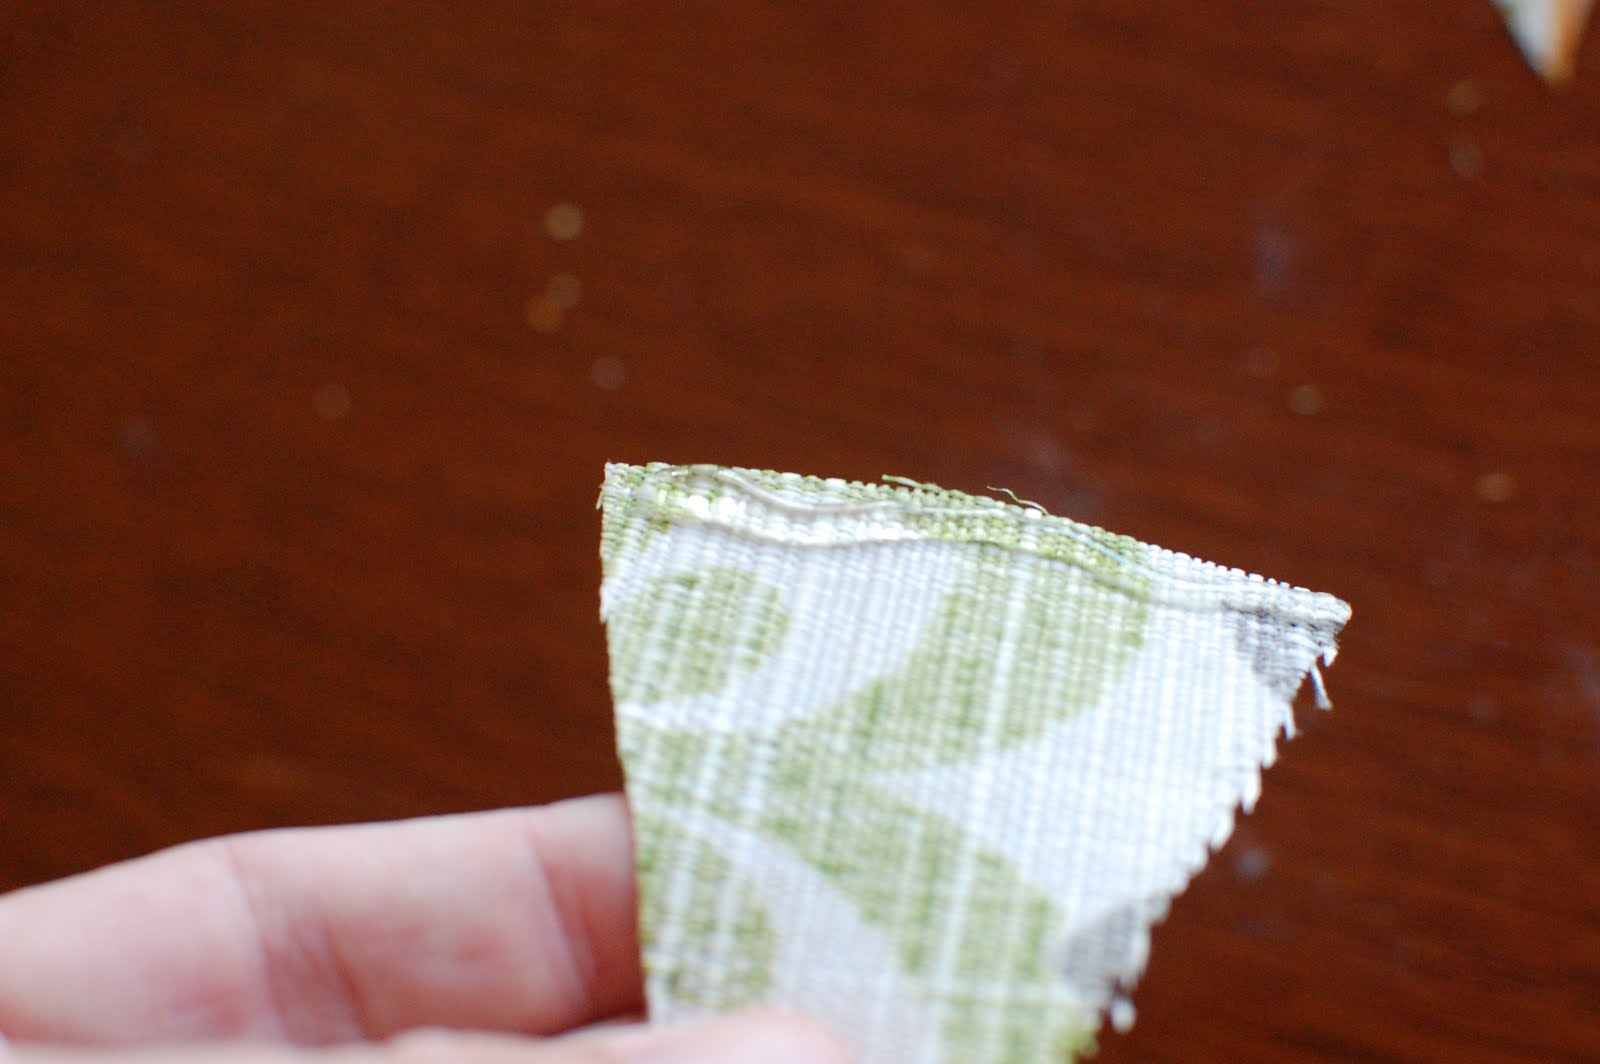
 This is what the inside of the lid looked like after I finished attaching the fabric and foam. If you try this make sure that you pay attention to where the hinges are so that you don't cover them up with fabric. My hinges where on the right side in the picture below which is why it looks different than the other three sides.
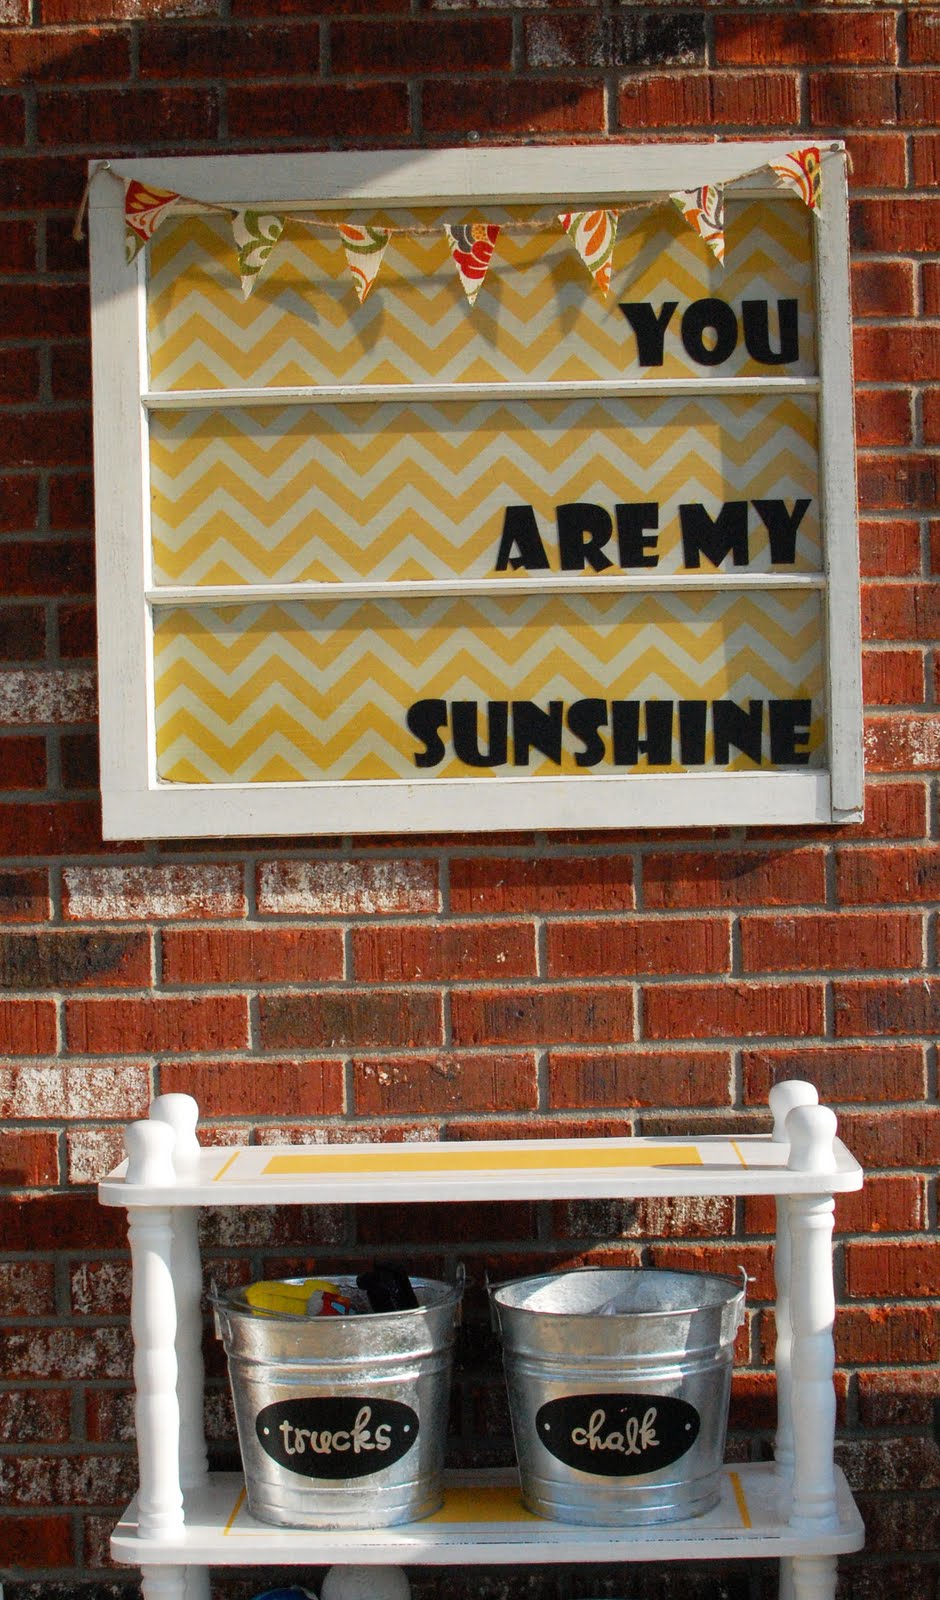
I impatiently waited for Jason to get home from work so he could reattach the lid for me. I tried a few times but couldn't figure it out:) Once the lid was in place, we had a great new seating area on our patio!
You can check out the rest of our patio makeover here!
Pin It!

Thursday, July 7, 2011

Old Window to Outdoor Wall Art

Last week I shared a little sneak peak of our in progress patio makeover which included our outdoor toy organizer and a cute {but way too plain} window. I started with an old window {that had previous hung on the wall in the master bedroom} and I added some yellow and white fabric to the glass using spray adhesive and clear polyurethane.
The color was perfect and it added a little whimsy to the patio, but it was just too plain. So I decided to add a vinyl quote and some cute pennants!
I used my Silhouette to cut out a few pennant shapes from a scrap of leftover outdoor fabric.
 I added a line of hot glue to the back of each pennant...
 ...and then stuck them onto a piece of twine.
I used my Silhouette to cut out a quote on premium vinyl so that it would last outside in the elements {I used the same vinyl on the galvanized buckets too}. I decided on the quote "You are my sunshine" because I thought it went well with the sunshine-y yellow color of the chevron fabric:)
To finish up the project, I added the pennants to the window using a few thumbtacks, making sure that they didn't hang low enough to cover up the vinyl lettering.
The boys and I are heading to the hardware store this morning to pick up the last {hopefully} few things I need to put the finishing touches on the patio. If all goes well {meaning if I can manage to work the drill by myself} I should have some pictures of the completely project to share tomorrow.
Go HERE to see the completed patio makeover.
Weekend Bloggy Reading Visit thecsiproject.com
Pin It!

Tuesday, June 28, 2011

Outdoor Toy Organization

We have been working on a patio makeover for the last few weeks. One thing that I knew needed to be worked into the new design was better storage of the kids' outside toys. We have a big plastic patio box that previously held all their toys, and while it is convenient to just toss everything into the box, all of the smaller toys seem to constantly get lost at the bottom. So when my mom gave me this {used to be ugly and brown} shelf, I set out to find some kind of container that could withstand the outside elements and three boys!
 After three separate shopping trips to about 10 different stores, I finally found exactly what I was looking for at a small hardware store about 20 miles north of me. I bought 6 galvanized steel buckets at $6 each, then came home and got busy with my Silhouette. I cut out some fun oval shaped labels to correspond with all the little toys that were in the boys' outside toy collection. Now instead of digging in the big patio box for their sand toys, they can take the sand toys bucket off the shelf and head over to the sand box to play:)
 For a decorative touch above the shelf, I added an old window that I embellished with some bright and cheery yellow chevron fabric. I still think it needs a little something, and I really want to add a vinyl quote or saying....I just don't know what just yet!
I am in the process of turning the old plastic patio box into an outdoor bench, and when that is complete the patio will finally be finished and I will share it with you. In the mean time, if anybody has any ideas or suggestions of what I can add to the old window please share them!

Go HERE to see the completed patio makeover.
Visit thecsiproject.com
Pin It!

Monday, June 27, 2011

Monogrammed Flag Tees

If you have been reading my blog for long, you already know that I have a love of homemade holiday shirts. Check out the evidence here, here, here, here, and here:) The 4th of July is actually one of my favorite holidays to make shirts for because after the 4th the shirts can still be worn without looking silly {like you would if you wore a Christmas shirt in the middle of March}! Last year my boys had cute {but sort of plain} gingham flag shirts, so this year I decided to make their shirts a little more interesting!
I started by using my Silhouette to cut out the first letter of each kiddos name in a wide letter as similar to the shape of the US flag as I could.
I picked up 1/4 yard of red striped fabric and 1/4 yard of solid blue fabric at the store {this was more than enough for me to make 3 kids' shirts}. I used the outline of the letter that I cut out with my Silhouette to help me line up the fabrics to look like a flag. The red and white striped should cover most of the letter and the solid blue should be in the top left corner of the letter.
You could simply cut out your letter by hand using the outline as a guide, but I decided to try out the fabric interfacing that I bought when I got my Silhouette. I ironed on the interfacing according to the directions, lined my material up on my cutting mat using my paper letter as a guide, and then I let my Silhouette do the work of cutting out the letter. Can I just say the fact that this machine can easily cut fabric makes it work it's weight in gold to me:)
Now that the hard part is over, the last step in making your monogrammed flag tees is to iron on your letter and then sew it in place. If you don't sew, you could easily buy the heavy duty iron on and skip the sewing step altogether.
Two of my models are going to VBS this week, so my littlest photography assistant helped me out with my photo shoot:)

Do you show your patriotism by wearing a red, white, and blue on the 4th of July?
Pin It!

Thursday, June 23, 2011

4th of July Tin Can Windsocks

A few weeks ago, I was browsing through an awesome post {at Under the Table and Dreaming} that included a ton of Flag Day/4th of July inspiration. The one project that really caught my eye was Stephanie Lynn's Tin Can Flag Windsock. It looked like such a fun project to try with the boys and I knew that I had almost everything I would need for the project already in my craft stash...lucky for me I've been hanging on to some old formula cans for more than a few years:) I headed to the store for some red and white ribbon and then gathered up all my other supplies {old formula cans, blue spray paint, some twine, and white contact paper stars cut out using my Silhouette} at home.
The first step for us was to take all the paper off the outside of the cans. I love letting the kiddos help along the way and pulling off the paper was fun for them and made them feel more involved.
Then we used some old rags and the water hose to clean out any of the old formula powder that was stuck to the inside of the can.
We gave each can a quick coat of blue spray paint and waited for them to dry.
After the paint was dry, we took our projects inside to add our stars and stripes. To keep the blue paint from getting on the table, I gave each kid a paper plate to place under their can. Then they got busy peeling the backs off their sticks and adding them to the cans however they wanted. I added my stars evenly around the can and Grant did a pretty good job of that too, but Eli's were kind of all on the same side and Henry made a three by three square of stars:)
While the boys were adding their stars, I cut the ribbon into strips about 15 inches long. I used a 30 foot roll of each color and that was just enough to cover our four cans.
Using my hot glue gun I added the strips of ribbon to the open end of the can alternating red and white. Unless you have a low temp glue gun or a kiddo who already knows how to use a glue gun, this should be a grown ups job:)
After all the ribbon was added, I used a screwdriver and a hammer to make two holes in the bottom of the can. Then I poked some twine through the holes and tied them on the inside. Stephanie used a different technique for her hanger so you might want to check out her way and decided which would work better for you.
After you  make sure you hanger is secure, they are ready to decorate your yard. This is what they look like hung on our front porch in celebration of the 4th of July....very patriotic I must say:)
Do you decorate your yard of the 4th of July?
Pin It!

Friday, June 10, 2011

A Litte About OCD and a Sewing Tip

Hi my name is Kelli and I have OCD:) Well it is actually self diagnosed, first born, rule follower, lover of straight lines OCD, but I'm sure a lot of you understand. And let me just say that the need for perfection and crafting don't always go very well together. I have learned that crafts {or at least my crafts} are far from perfect in most cases....and that is something that can be hard for my straight line loving self to accept.
Sewing has been a crafting Achilles heel for me, mostly because I'm not very good at it and that leads to small imperfections that drive me a little bonkers. I have issues with cutting and sewing straight lines...and lets not even talk about trying to sew in a circle:) As I was working on a project that required me to cut really long straight lines I had an idea...a genius idea that made my straight line loving OCD self very happy!
 I borrowed my hubby's chalk line popper thing that you use for making lines on wood. He assisted me in popping a few lines onto the back side of my fabric...
 ....and look what I ended up with! Perfectly straight lines! I couldn't have been happier wth how straight those lines turned out...or how easy they were to achieve! Now if I could just manage to sew these pieces together in a straight line I will be doing good:)
 And just because he is too cute, here is Eli showing off a little bit of what we have been working on in the back yard for the last few weeks. I'm hoping to finish up this weekend and maybe have a full post about our new patio to share with you next week.


Have a great day and paint something bright yellow this weekend:)
Weekend Bloggy Reading
Pin It!

Monday, June 6, 2011

Summer Door Decor

After taking down my Easter decorations, my front doors were screaming for a fun summer makeover. It took me more than a month to decide what I wanted to do, but when I found some really fun yellow and white chevron fabric on sale a few weeks ago, I knew it was perfect for some sort of summer door decor. I paired the yellow chevron fabric with some fun red and white polka dot ribbon and some turquoise lettering and ended up with two bright and summery front door canvases.

I bought two canvases at Hobby Lobby a few weeks ago....they were $5.99 for 2 and then 40% off.
I started by wrapping the canvases with the chevron fabric and attaching the fabric to the back of the canvases with my staple gun. Then I added the polka dot ribbon with a little hot glue. The last step was to add a great summer quote to the front of the canvas...and that is where my new Silhouette comes in:)
This was my very first project using my Silhouette, and I have to say it is SO much better than my Cricut. Seriously check out that cute font that I used for the quote!
I already had some turquoise on my front porch in the form of my placemat pillows, so I decided to add in a little bit of red and yellow to make everything match:) I'm loving all the fun bright summer colors and they are even taking over my back patio too...but that is a post for another day!
What kind of fun summer things are you decorating with this year?
Visit thecsiproject.com
Pin It!

Tuesday, May 24, 2011

Rustic Frame Makeover

Summer is officially here. We've had an interesting few days to say the least!
*all three boys went to my parents' for a visit*
*a business trip cancelled after we were already headed out of town*
*shopping instead of tripping*
*first movie of the summer*
*last tennis lesson until fall*
*running 2 miles*
Needless to say I am more than tired which I'm using as an excuse to avoid my blog for a few days:) Instead of posting something new for you today, I am reposting a guest post that I did last week for Yanet over at 3 Sunkissed Boys.
**********************
Today I am sharing a simple spray paint project that is part of my bigger Master Bedroom Redo.
I started with these really cute frames that I bought a few years ago. I loved them because the colors were perfect for our room and they had that rustic yet tropical feel that I was going for at the time.
Since I decided to add red into the decor, the two tones of blue just weren't working in the room anymore. The easiest solution for that problem is a little bit of red spray paint, some newspaper, and some painters tape.
I used the painters tape to mask off just the darker color blue and then I used the newspaper to protect the rest of the frame that I didn't want the red spray paint to get on.
After the paint dried overnight, I used a piece of sandpaper to rough up the red a little bit just to make it match the rustic-ness of the rest of the frame.
I added in some new black and white pictures, and now my frames are ready to go into my {still in progress} master bedroom.
Pin It!
Related Posts Plugin for WordPress, Blogger...